What is the rule of thirds?

How to use the rule of thirds in landscape?
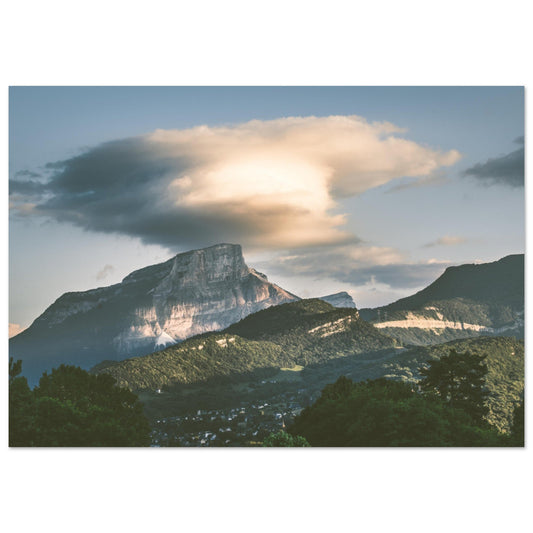
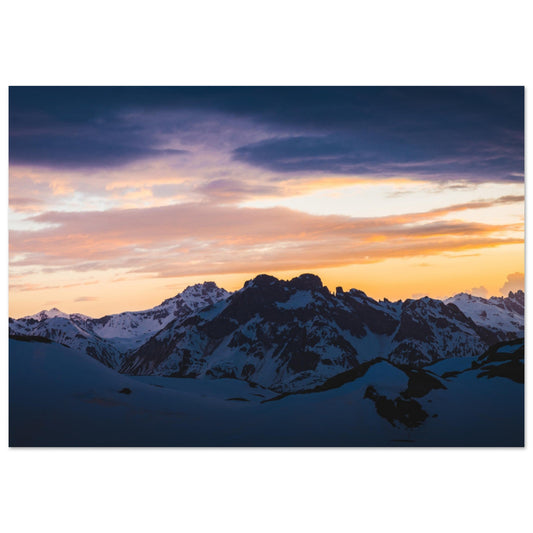
Line 1 : Position of the horizon

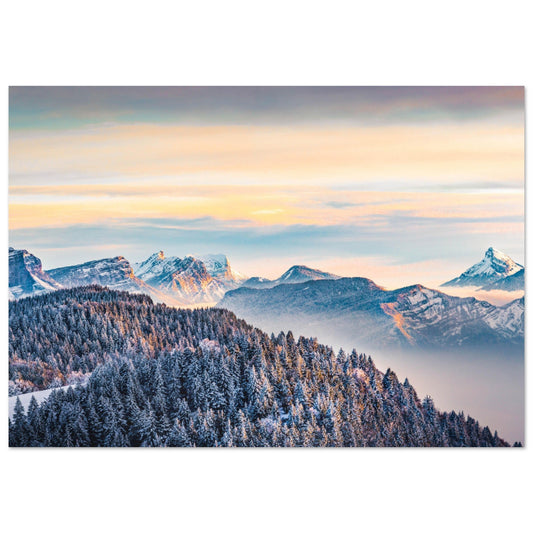
If the sky is spectacular (dramatic clouds, blazing sunset), or a physical element can make a delimitation between 2 spaces appear, place the horizon on the upper line . This will highlight the sky and give space to the mountain.
In this example, the top line 1 is almost positioned between the sky and the treetops . And it's perfect!
(yes we are not asking you to be perfectly 1/3 of the photo 🙃 📏)
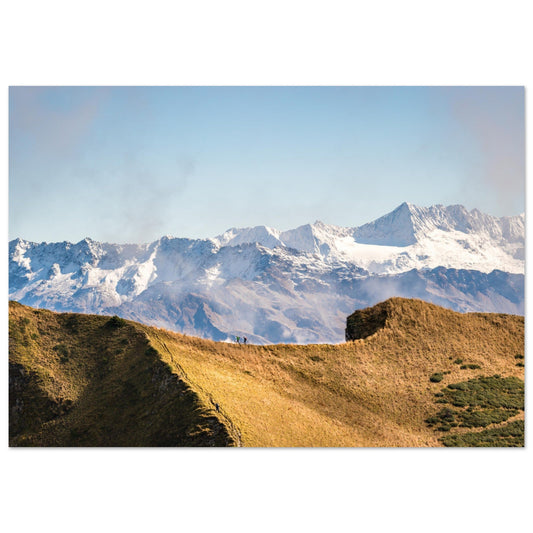
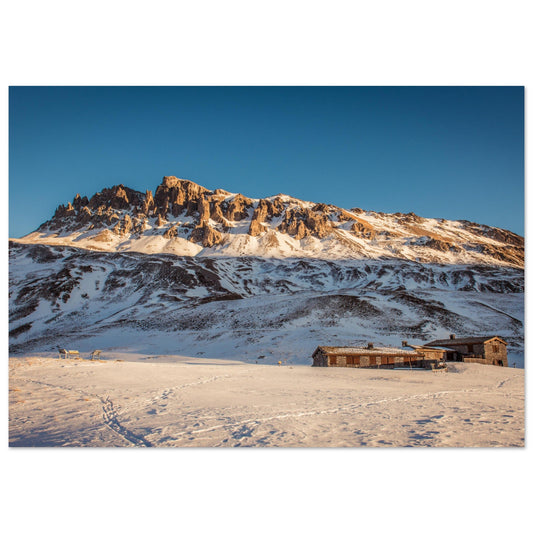
Line 2: Interesting first shot

If you have a captivating foreground (rocks, wildflowers), place the horizon on the bottom line . This will highlight the ground and add depth to the image.
In this example, the bottom line 2 is positioned on the shadow of the drill . Once again, it's perfect!
3. Strength points
-

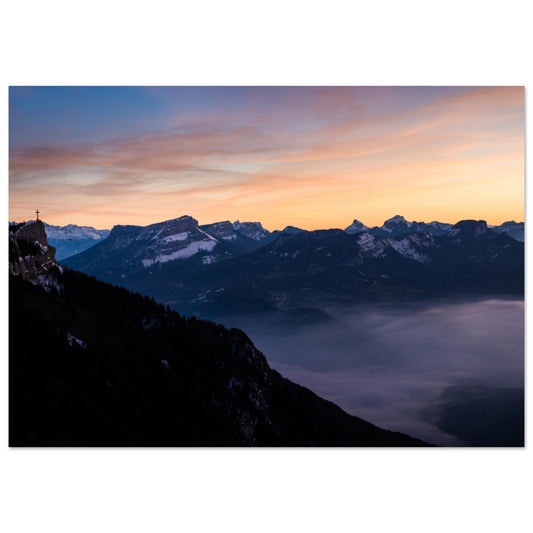
Point 7
The point of strength 7 is located on a church. This allows it to be highlighted .
-

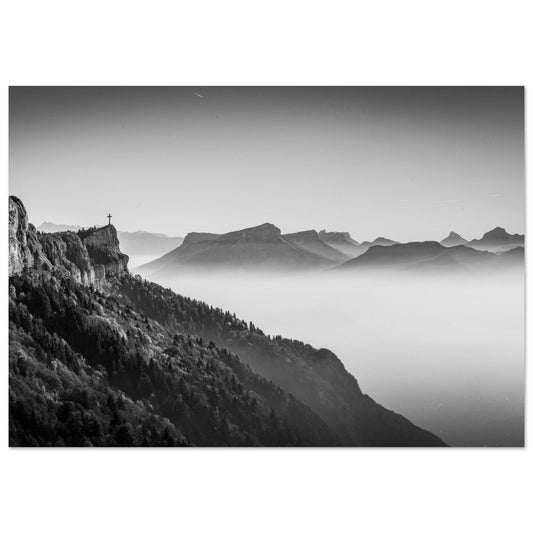
Item 8
Strength point 8 is also interesting because it is at the tip of the shadow.
-

Start of line 2
The beginnings and ends of the third lines are equally important points. Here we notice that the start of line 2 is right on the edge of the road.
-

Start of line 1
The start of line 1 is at the end of the crest of the start of another.


In conclusion
-
Photo of Mont Granier, Chartreuse Massif
Vendor:Tableaux photos aluminium de montagneRegular price From €79,00 EURRegular price -
Photo of the Belledonne chain from the Lances de Mallissard
Vendor:Tableaux photos aluminium de montagneRegular price From €79,00 EURRegular price -
Photo of the Croix du Nivolet in front of the Chartreuse massif
Vendor:Tableaux photos aluminium de montagneRegular price From €79,00 EURRegular price -
Photo of the Croix du Nivolet in front of the Chartreuse massif - Black & White
Vendor:Tableaux photos aluminium de montagneRegular price From €79,00 EURRegular price -
Photo of a sunset over the snow-covered Chartreuse
Vendor:Tableaux photos aluminium de montagneRegular price From €79,00 EURRegular price -
Photo of a sunset over Mont Pelvoux and its glaciers, Massif des Ecrins
Vendor:Tableaux photos aluminium de montagneRegular price From €79,00 EURRegular price -
Photo of the Ecrins bar and the Rouies plateau
Vendor:Tableaux photos aluminium de montagneRegular price From €79,00 EURRegular price -
Photo of La Meije reflected on Lake Lerie, Emparis plateau, Arves massif
Vendor:Tableaux photos aluminium de montagneRegular price From €79,00 EURRegular price -
Photo of the Rouies Ice Plateau and Pointe Duhamel
Vendor:Tableaux photos aluminium de montagneRegular price From €79,00 EURRegular price -
Photo of Madame Carle’s Meadow, Écrins Massif
Vendor:Tableaux photos aluminium de montagneRegular price From €79,00 EURRegular price -
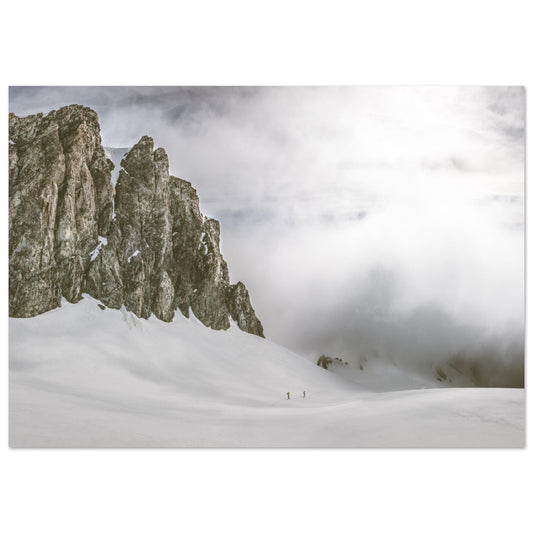
Photo corridor for the Rouies plateau and Ecrins bar
Vendor:Tableaux photos aluminium de montagneRegular price From €79,00 EURRegular price€0,00 EURSale price From €79,00 EUR -
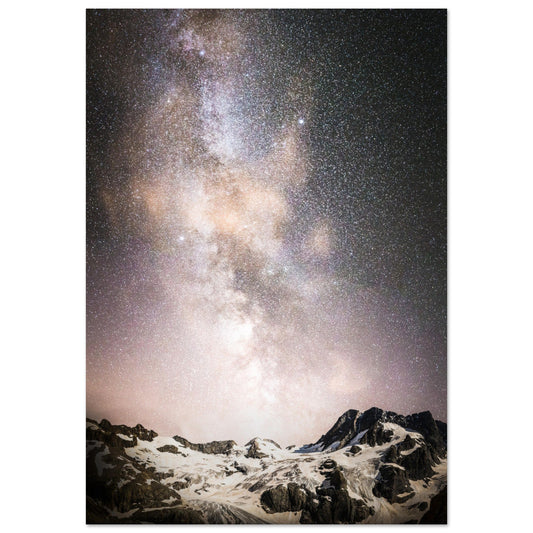
Photo of a Milky Way above Les Bans and Pointe de la Pilatte, Ecrins massif
Vendor:Tableaux photos aluminium de montagneRegular price From €79,00 EURRegular price€0,00 EURSale price From €79,00 EUR -
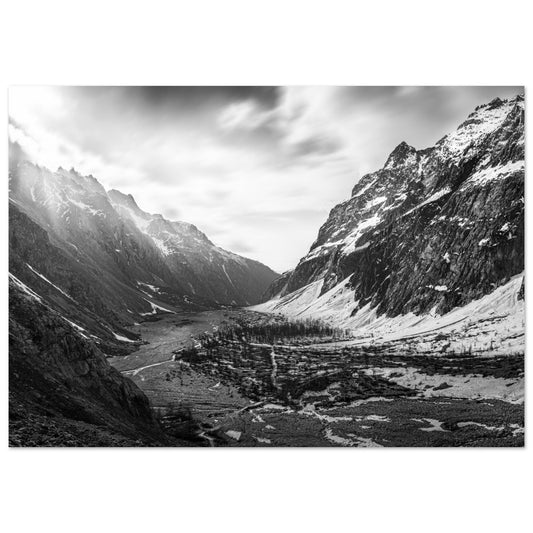
Photo of Madame Carle's Meadow, Écrins Massif - Black & White
Vendor:Tableaux photos aluminium de montagneRegular price From €79,00 EURRegular price -
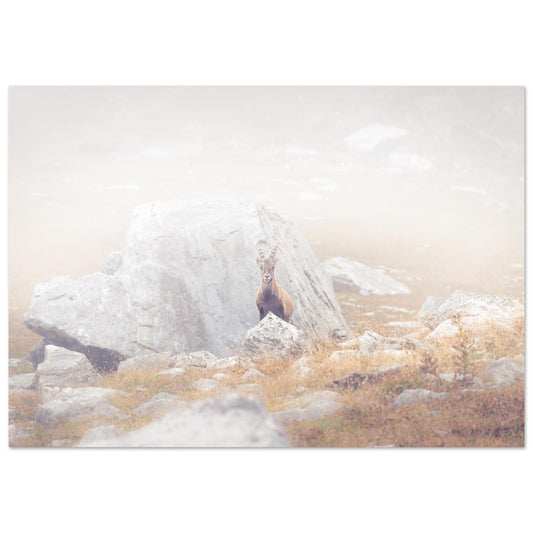
Photo of a baby ibex
Vendor:Tableaux photos aluminium de montagneRegular price From €79,00 EURRegular price -
Photo of a sunset over the Dente Parrachée, Vanoise Park
Vendor:Tableaux photos aluminium de montagneRegular price From €79,00 EURRegular price -
Photo of a sunset over Grande Casse and the Vanoise refuge
Vendor:Tableaux photos aluminium de montagneRegular price From €79,00 EURRegular price -
Photo of a sunset over the Grand Marchet and the peaks of Vanoise
Vendor:Tableaux photos aluminium de montagneRegular price From €79,00 EURRegular price -
Photo of a sunset over the Plan du Lac refuge, Vanoise
Vendor:Tableaux photos aluminium de montagneRegular price From €79,00 EURRegular price -
Photo of a sunrise over the Dente Parrachée, Dome de Chasseforet, Mont Pelve, Vanoise
Vendor:Tableaux photos aluminium de montagneRegular price From €79,00 EURRegular price -
Photo of a sunrise over Grande Casse
Vendor:Tableaux photos aluminium de montagneRegular price From €79,00 EURRegular price