Download the instructions:
How to install an aluminum photo board?
Easy installation with the magnetic kit
Your Dibond Alu Art Mountains aluminum photo prints are delivered with a Ready-to-use magnetic mounting kit . In just a few minutes, you can hang your mountain landscape on the wall. with a clean and flowing look, worthy of a gallery.
Follow this step-by-step guide to easily install your aluminum panel thanks to the magnets provided.

Contents of the magnetic kit
In your fixing kit, you will find:
- magnets already glued to the back of the painting;
- metal discs to be fixed to the wall (one per magnet);
- suitable screws ;
- wall plugs for solid walls;
- washers for a good hold of the discs on the wall.
The number of fixing points varies depending on the format of the table (generally 2 magnets for small formats, 3 or 4 magnets for larger formats).
Before drilling: properly prepare your wall
1. Choose the location and height
Before getting out the drill, take the time to choose the ideal location:
- In a living room , place the center of the image at approximately 1.55 to 1.65 m from the ground (eye height).
- Above a sofa or bed , keep 20 to 30 cm between the top of the backrest and the bottom of the table.
This helps to maintain a pleasing visual balance and to highlight the mountain scenery without crushing your furniture.
2. Check the wall type
Depending on the type of wall, the supplied wall plugs will be more or less suitable:
- Solid wall (concrete, brick, stone): the supplied wall plugs are generally suitable.
- Plasterboard/BA13 type partition : for large formats, use special plasterboard anchors.
- Wooden wall : it is often possible to screw directly, without a plug, if the support is thick enough.
If you have any doubt about the strength of the support, do not hesitate to use reinforced wall plugs suitable for your wall.
3. Check the contents of the kit
Make sure you have all the components of the magnetic kit. (magnets on the back of the board, metal discs, screws, dowels and washers) as well as the necessary tools:
- a drill with a 6 mm drill bit;
- a screwdriver (ideally Phillips head);
- a spirit level ;
- a pencil for marking.
Tutorial: How to install an aluminum panel using the magnetic kit
Step 1: Locate the position of the painting
- Place the picture against the wall in the desired location.
- Use a level to check that it is perfectly horizontal.
-
Mark with a pencil:
- the top of the table ;
- the approximate position of each magnet (you can feel their location by gently sliding your hand along the back of the painting).
- Remove the table: you will now work on these reference points.
Step 2: Mark the locations of the magnetic supports
- Position a metal disc on the wall, with each mark corresponding to a magnet.
- Make sure everything is properly aligned (horizontally, and possibly vertically if you are installing several paintings).
- Mark the center of each disc with a pencil: that's where you will drill.
Step 3: Drill through the wall and insert the wall plugs
- Drill a hole at each mark with your 6 mm drill bit.
- Hold the drill perfectly perpendicular to the wall so that the supports are perfectly flat.
- Insert a dowel into each hole until it is flush with the wall.
Step 4: Screw on the metal discs
- Place a washer on each screw.
- Position a metal disc on each ankle, making sure it is centered.
- Screw firmly with the screwdriver until the disc is securely against the wall, with no play.
Step 5: Hang the picture on the magnets
- Gently bring the picture close to the wall: the magnets on the back will to stick naturally onto the screwed discs.
- Release the painting, then slide it slightly. to precisely adjust the horizontal.
- Take a step back and check the alignment with the furniture. to the ceiling and other paintings.
Thanks to the magnetic system, you can easily reposition it. your painting if you wish to move it or slightly modify your wall composition.
Protective film & maintenance of the painting
Your painting can be delivered with a protective film on the printed side. Remember to remove it once the installation is complete to reveal the full sharpness of the image. and the matte finish of the Dibond aluminum.
For maintenance, a simple soft, dry cloth is sufficient. Avoid abrasive sponges and harsh chemicals: they are not necessary and could damage the surface.
Dibond aluminum is a rigid and durable substrate: perfect for your mountain photo print. It will remain crisp and vibrant for many years if handled with care.
Frequently Asked Questions
Can I hang my painting on placo?
Yes, it's possible. For large formats or somewhat fragile partitions, However, we recommend using special plasterboard wall plugs. Good quality, available in DIY stores.
Can I move my painting easily?
Yes. The magnetic system is designed to be reversible . Simply peel the painting gently from the wall, then reposition it. on the same supports or, if necessary, after moving the metal discs.
What should I do if I have doubts about the installation?
If any step seems unclear to you, don't hesitate to ask someone for help. equipped or contact us with a photo of your wall and the back of the painting. We will guide you to enjoy your aluminum photo print safely.
And now, let's talk about decorating!
Your aluminum mountain photo frame is now installed. To complete your wall, also check out:
Download the instructions:
Photo boards to discover:
-
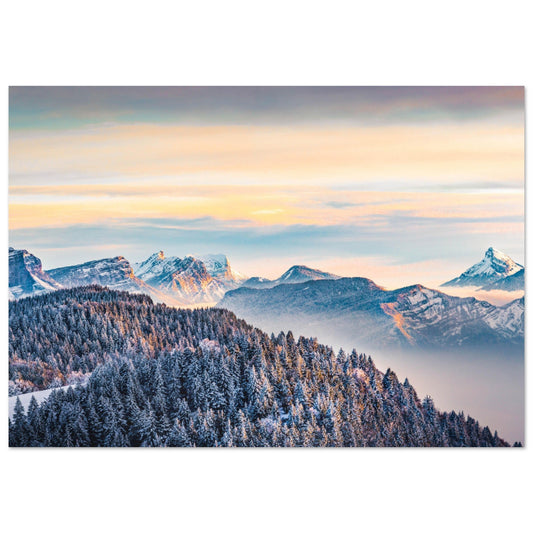
Photo of a sunset over the snow-covered Chartreuse
Regular price From €79,00 EURRegular price -
Ski photo in the Aiguilles Rouges facing Mont Blanc
Regular price From €79,00 EURRegular price -
Photo of an ibex facing Mont-Blanc - Black & White
Regular price From €79,00 EURRegular price€0,00 EURSale price From €79,00 EUR -
Drone photo of snow-covered fir trees
Regular price From €79,00 EURRegular price -
Photo of a baby fox in the snow
Regular price From €79,00 EURRegular price -
Photo of a sunrise over a sea of clouds, Grande Casse and the Montagne de la Seigne
Regular price From €79,00 EURRegular price -
Photo of a sunset on the Matterhorn, Italy-Switzerland border - Black & White
Regular price From €79,00 EURRegular price -
Photo of a panorama of Mont-Blanc at sunset
Regular price From €79,00 EURRegular price -
Photo of the Aiguille Verte at sunset
Regular price From €79,00 EURRegular price€0,00 EURSale price From €79,00 EUR -
Photo of the Mont-Blanc sea of ice in autumn
Regular price From €79,00 EURRegular price€0,00 EURSale price From €79,00 EUR -
Photo of a stream in the Contamines-Montjoie valley, Haute-Savoie
Regular price From €79,00 EURRegular price€0,00 EURSale price From €79,00 EUR -
Photo of Lake Villard de Lans in Autumn, Vercors
Regular price From €79,00 EURRegular price -
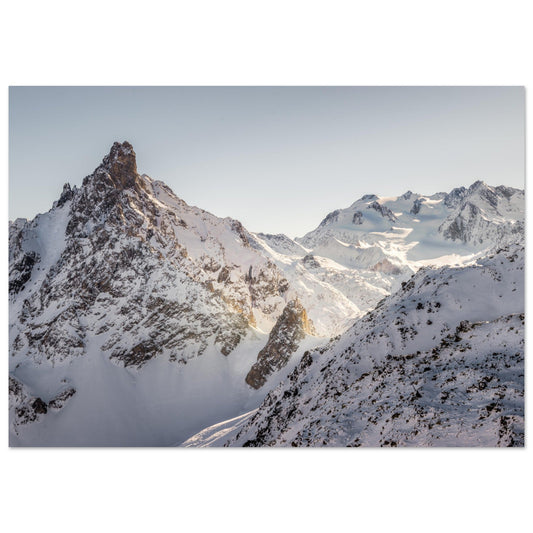
Photo of the Aiguille du fruit, Parc de la Vanoise
Regular price From €79,00 EURRegular price -
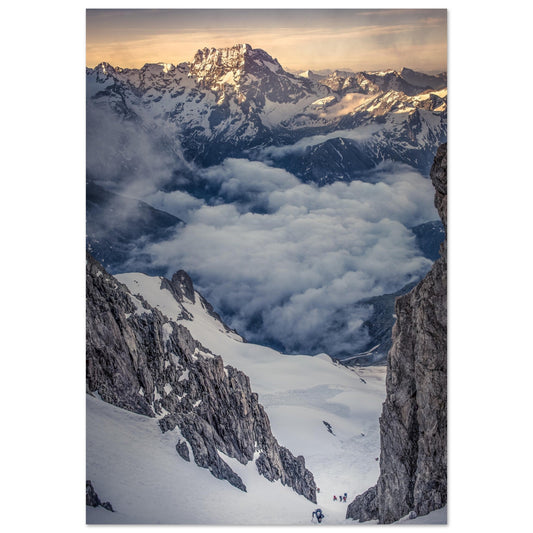
Photo corridor for the Rouies plateau and Ecrins bar
Regular price From €79,00 EURRegular price€0,00 EURSale price From €79,00 EUR -
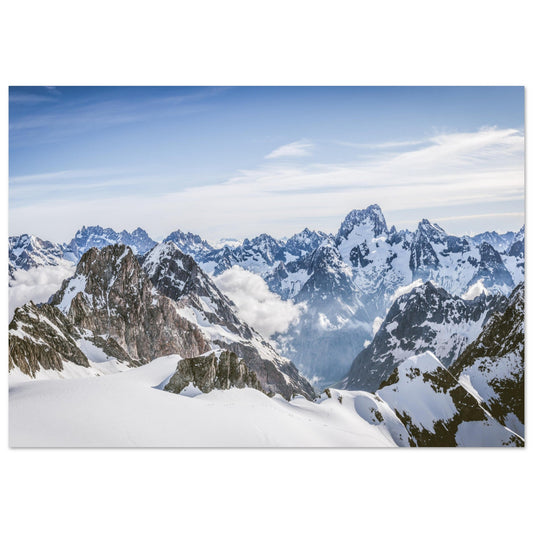
Photo of the Ecrins bar and the Rouies plateau
Regular price From €79,00 EURRegular price -
Photo of the Fiz Massif & Aiguille de Varan at sunset
Regular price From €79,00 EURRegular price -
Photo Ski touring — Talèfre & Aiguille du Moine (Mont-Blanc)
Regular price From €79,00 EURRegular price -
Photo of the Milky Way — Mont Blanc & Alpine peaks
Regular price From €79,00 EURRegular price


