Where to photograph the Ecrins? Photo spots and field tips
Partager
Ecrins Massif Photo Guides
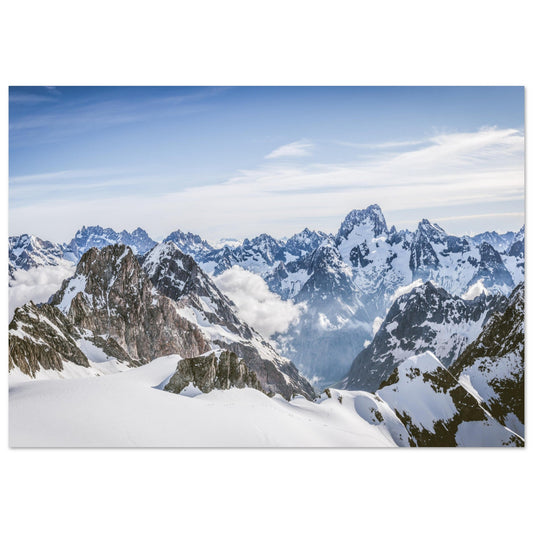
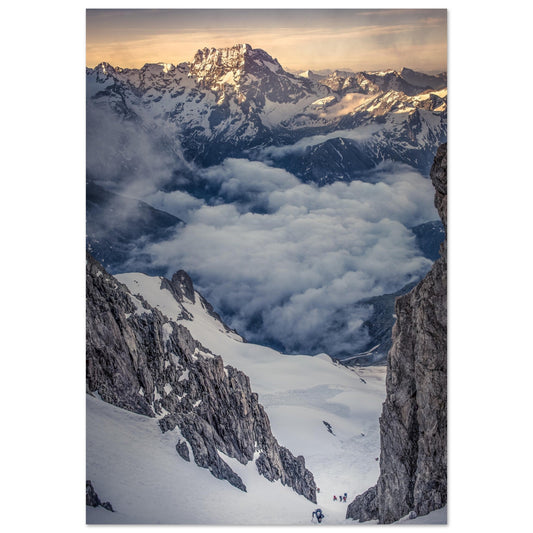
The Ecrins massif boasts some of the most spectacular landscapes in the French Alps: glacial peaks, wild valleys, high-altitude lakes, rocky cliffs, and high-mountain villages.
This page gathers my guides dedicated to the main photographic areas of the massif: Pré de Madame Carle, Glacier Blanc, Barre des Écrins, La Meije, La Grave, Emparis plateau, and Valgaudemar. Each article presents the best viewpoints, preferred lighting conditions, access information, and my advice as a mountain photographer.
To compare the different sectors before planning your outing, start with the main guide:
Where to photograph the Ecrins? My best photo spots and field advice
You can also discover the landscapes presented in these guides in my collection of Ecrins photo prints .