Photographing the Milky Way in the mountains
Photographing the Milky Way in the mountains is not about finding “the right month”, a favourite ISO value and an exposure time that is supposed to work everywhere. A more useful first question is: which part of the Milky Way do you want in the frame, where will it actually be in the sky from this precise location, and what role should the mountain play?
The method then becomes logical: check celestial geometry and darkness, read the Moon and the quality of the sky, build the relationship between sky and relief, then choose an exposure time compatible with the amount of star trailing you accept, an aperture that is genuinely usable, an ISO consistent with the signal you captured and focus verified on a real image. More complex methods come only afterward, when they solve an identified limitation.
The Milky Way crosses the sky far beyond its densest central region.
Location, date, time, darkness and the actual relief determine feasibility.
The 500 rule or an NPF-type formula are only starting points to verify.
A second exposure, stacking, a tracking mount or a panorama should solve a specific problem.
Galactic band or centre: know what you are photographing
From Earth, under a dark sky, the Milky Way appears as a milky band crossing the sky: we are looking through the disk of our galaxy almost edge-on. This band can become a strong element in the image even when the galactic-centre region is not visible or is poorly positioned.
Photography terminology often adds to the confusion. The “heart” or core of the Milky Way generally refers to the visually rich region of star fields, dark clouds and nebulosity in the direction of Sagittarius. The physical centre of the galaxy, associated with Sagittarius A*, does lie in that direction, but interstellar dust largely obscures it in visible light. A landscape photograph therefore does not show the central black hole directly: it shows a highly structured region of the galactic plane and the direction of the centre.
The Milky Way is the subject
Its structure, contrast or shape carries the image. The relief acts as an anchor, scale reference or silhouette.
The Milky Way is a structure
A diagonal, vertical section or arch organizes the sky and interacts with a ridge or summit.
The Milky Way is context
The landscape remains dominant; the galactic band confirms night and isolation without becoming the only motif.
A simple test helps avoid a “sky pasted onto a mountain”: if the Milky Way were removed, would the relief still have a presence? If the terrain were removed, would the sky be anything more than a generic star image? The two do not need equal visual weight, but their relationship should be deliberate.
Feasibility is geometry, not a season
The position of a celestial object relative to your horizon depends on its celestial coordinates, your latitude and longitude and the time. Earth’s rotation changes its altitude and azimuth during the night; its relationship with the Sun changes the periods during which that geometry coincides with a sufficiently dark sky.
That is why a statement such as “the Milky Way can be photographed from this month to that month” is too crude to prepare a specific image. For one location, the real question is: at what time will the part of the Milky Way I want be at the desired altitude and azimuth, while the sky is dark enough and the relief does not hide it?
| Question | What astronomy or the planner provides | What the terrain can still change |
|---|---|---|
| Where will the targeted region be? | Altitude and azimuth for the location, date and time. | A ridge, pass, trees or cliff can block the theoretical horizon. |
| What shape will the band have? | Inclination and visible portion at the chosen time. | The real framing and a movement of a few metres can change its relationship with the relief. |
| Will the sky be dark enough? | Sun altitude and twilight limits. | The Moon, artificial glow, haze, smoke, clouds and local light can still dominate the result. |
| Will the Moon help or interfere? | Phase, altitude, azimuth, rise and set. | The relief can hide it; its angle relative to the terrain changes the light on the landscape. |
The −18° reference: useful, but not magic
The end of astronomical twilight is conventionally defined when the centre of the Sun reaches 18° below the horizon. This is a robust reference for comparing dates and estimating how deep the night is. It is not a switch that suddenly makes the Milky Way photographable.
Before that limit, scattered sunlight can still brighten the sky background; afterward, the Moon, light pollution or transparency can remain far more important. Conversely, a scene may be interesting with residual twilight if contrast and intent allow it. The −18° reference therefore helps plan the contribution of sunlight; it does not dictate the moment to press the shutter.
The duration of this darkness varies with date and latitude. Do not memorize a “typical night”: check the actual date.
Read the Moon and the real quality of the sky
A new moon often makes faint structures easier to read, but “new moon = good night” is an oversimplification. Phase alone does not tell you whether the Moon is above your horizon during the exposure, where it is or how it lights the mountain.
At the planned time, check its phase, rise or set time, altitude, azimuth and relationship with the framed area. A bright Moon near the Milky Way can greatly reduce its contrast; on the opposite side, it can instead provide useful side lighting on the relief. A bright Moon that has already set no longer has the same direct effect on the scene.
Sky takes priority
Reduce lunar contribution in the framed direction and seek a dark sky background.
Readable landscape
Accept or seek moonlight that gives the terrain volume without overwhelming galactic structure.
Deliberate silhouette
Do not try to light the ground if a simple dark mass genuinely strengthens the sky.
Light pollution and transparency
Artificial diffuse glow (skyglow) is artificial light scattered by the atmosphere. It reduces contrast between the sky background and the Milky Way. In the mountains, a low light dome on the horizon can be especially troublesome when the central region is itself low in that direction, even if the zenith looks dark.
Aerosols, haze, dust, smoke and humidity increase scattering. Clouds above an urban area can reflect and redistribute artificial light. A “cloudless” sky is therefore not automatically a deep, transparent sky.
Not just a global light-pollution index.
Haze, smoke, aerosols, thin veil and humidity.
Their position relative to light sources matters.
Two sky-background sources distinct from artificial pollution.
A fixed white balance can help keep the preview consistent from one frame to the next and prevent automation from changing the colour of a series dramatically. In RAW, this is not a recipe for the final rendering: general development remains covered in the dedicated guide.
Scout the scene before it becomes dark
General outing preparation belongs in the dedicated guide. For the Milky Way, specific scouting is mainly about securing the geometry of the image.
- Identify the point where the tripod can remain without needing to change perspective later.
- Identify the frame boundaries and nearby obstacles.
- Assess the apparent height of the ridges in the planned direction.
- Decide whether the foreground should remain a silhouette or be readable.
- Prepare at least one alternative composition in case the band appears higher, lower or farther to one side than expected.
A headlamp set to the minimum light you need — optionally red light if that helps preserve your night adaptation — makes checks easier. Turn it off during exposures and avoid lighting the scene or other photographers unnecessarily.
Just before the important series, recheck the actual position of the Milky Way and the Moon. The sky moves: a preview that looked right earlier in the night may already look different. If the geometry does not work, moving a few metres, framing tighter, waiting briefly or choosing another part of the band can be more effective than automatically using a wider lens.
Build a mountain image, not only a starry sky
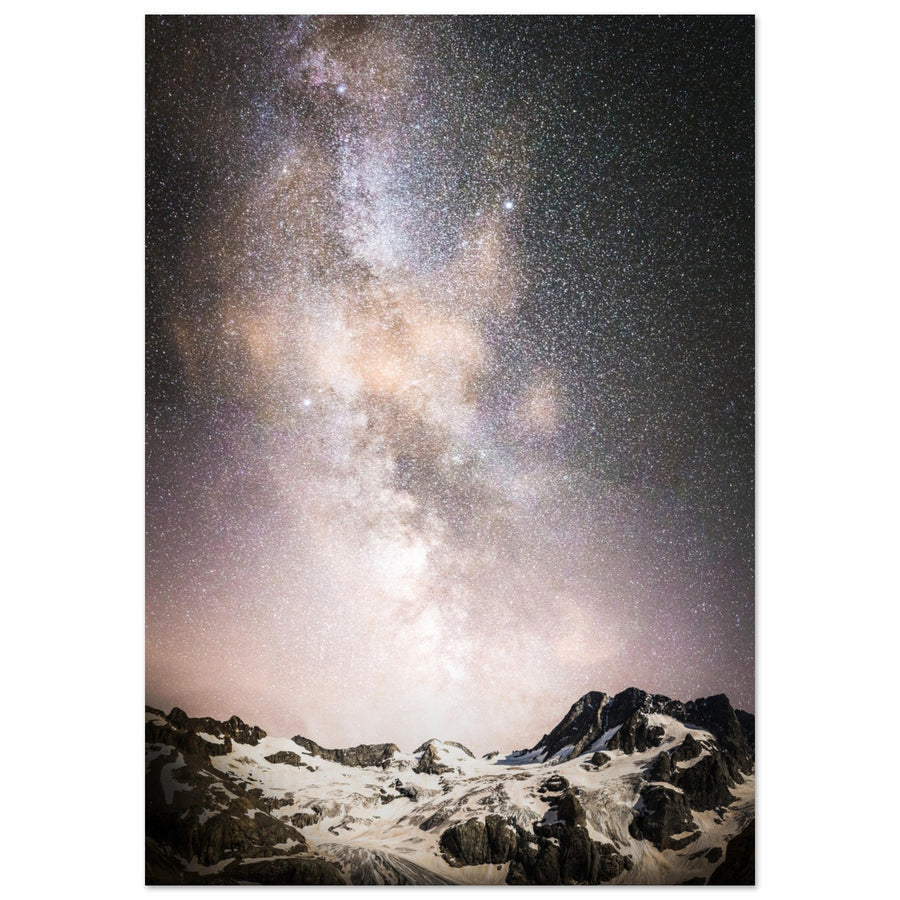
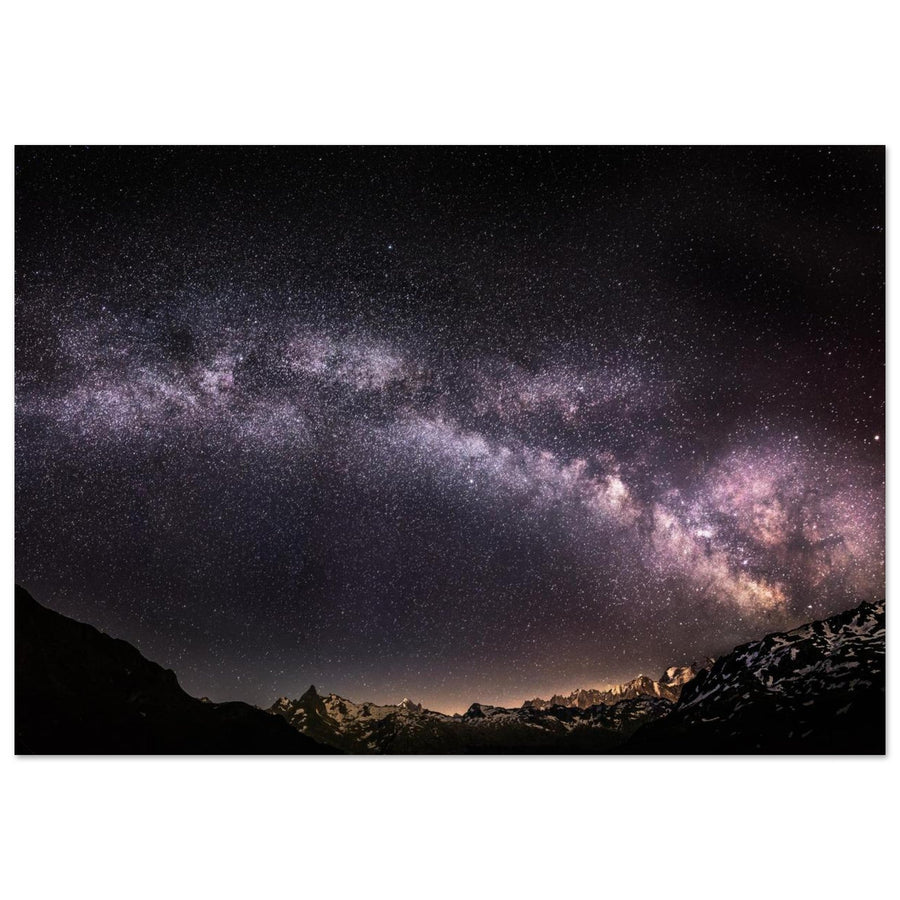
The Milky Way does not require you to fill most of the frame with sky or place an arch in the centre. A vertical section can extend a ridge; a diagonal can connect two masses; an arch can wrap around a mountain group, but often requires a very wide field or a panorama.
Focal-length choice remains an application of the focal-length/perspective guide: a shorter focal length includes sky, relief and foreground more easily; a longer focal length isolates a denser section and reduces the usable exposure time before trailing at the same tolerance. This guide does not reteach the general theory.
| Visible geometry | Composition possibility | Frequent risk |
|---|---|---|
| Vertical band | Echo a ridge, emphasise ascent, separate two masses. | Centre everything by reflex and split the mountain in two. |
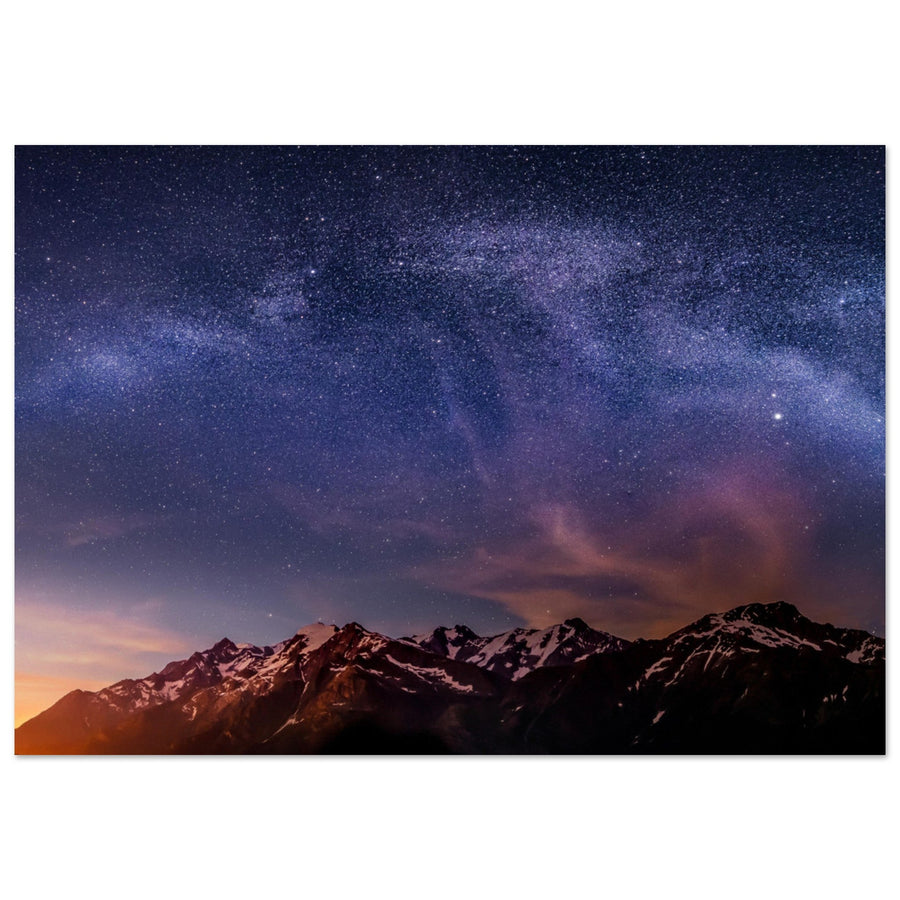
| Diagonal | Connect sky and relief, create tension or direction. | Let the diagonal leave the frame without an anchor point. |
| Low arch | Wrap around a massif or create a very wide celestial frame. | Reduce the landscape to an insignificant black strip. |
| Subtle section | Use the Milky Way as context rather than the subject. | Overprocess it to artificially give it a role it did not have. |
Silhouette or readable relief?
A black mountain is not necessarily a failure. If its silhouette is strong and the sky takes priority, it can be the right solution. If the relief carries the identity of the place, keep enough separation, texture or light so it does not become an informationless flat shape.
A foreground should have a function — depth, scale, texture, entry point — rather than exist because “astro needs a rock in front.” A very close subject also complicates depth of field and may require another focus distance.
The final check is about visual masses: does the sky justify the space it occupies? Is the mountain still identifiable? Does the Milky Way’s structure interact with the relief or float above it? For general principles, the Composition guide remains the reference.
Balance exposure time, aperture and ISO without a fixed recipe
On a fixed tripod, stars move across the sensor because Earth rotates. The longer the exposure, the more visible their displacement becomes. The acceptable threshold depends in particular on the actual focal length, pixel density and sensor resolution, the declination of the stars in the frame, the aperture used and above all the final output size and the amount of trailing you are willing to accept.
| Step | Decision | Check |
|---|---|---|
| 1. Frame | Use the focal length actually chosen for the image. | Use the parameters expected by the calculator — camera/sensor and actual focal length — without confusing physical focal length with the 24×36 mm equivalent. |
| 2. Open | Choose an aperture that gathers enough light but remains optically usable. | Check coma, edges and useful depth of field. |
| 3. Estimate | Use a contextual calculator with a reasonably conservative tolerance. | The result is a starting point, not a guarantee. |
| 4. Shoot | Make a real image. | Magnify stars in the important areas of the frame. |
| 5. Adjust | Shorten if trailing exceeds the acceptable level. | Judge according to the intended output, not only an on-screen thumbnail. |
Open wide, but not necessarily at maximum aperture
A wide aperture gathers more light during the exposure time limited by sky movement. That is valuable, but maximum aperture can increase coma, astigmatism or weak corners on some lenses; it also reduces depth of field when the foreground is close.
The useful aperture is therefore the widest one that gives a compromise your image can support: enough signal, acceptable stars in important areas and depth of field compatible with the terrain. Stopping down slightly can make sense if the optical improvement genuinely compensates for the lost light.
ISO comes after the light actually captured
ISO does not create missing photons. After setting an aperture and exposure time compatible with star movement, it is used to place or amplify the signal according to how the camera works and the rendering you want. Read noise, dynamic range and highlight headroom vary between sensors: there is no universal “Milky Way ISO.”
If the sky is very noisy, first ask whether enough signal was captured. The levers are a darker and more transparent sky, a genuinely usable aperture, a non-trailed duration as generous as necessary, several frames to stack or, in some cases, an equatorial tracker. Lowering ISO alone without increasing captured light does not repair a lack of photons.
General aperture–shutter–ISO theory, metering and histogram reading remain in Exposure in mountain photography.
Focus in the dark, then verify it
The ∞ symbol or the end stop of the focus ring does not guarantee correct focus. A reliable method is to aim at a bright star or very distant light source, switch to manual focus, use magnified live view and find the position where the star becomes as small and sharp as possible.
Use the camera’s magnified view or available MF aid.
Do not rely only on the ∞ mark.
Prevent AF or handling from moving the ring.
Inspect the first real image at high magnification.
A sharp star in the centre does not guarantee perfect corners: “seagull” shapes or wings near the edges may come from optical aberrations rather than incorrect focus.
A very close foreground may remain soft even when the stars are perfect. If it genuinely belongs to the subject, it may require another focus distance or a separate image. Depth-of-field and focus-stacking principles remain in Sharpness, focus and depth of field.
Decide whether one exposure is enough
The simplest solution is one exposure when both sky and landscape can be rendered the way you want. It naturally preserves the temporal consistency of the scene.
| Situation | Simplest approach | Why |
|---|---|---|
| Sky and relief are both sufficiently readable | One exposure. | No unnecessary blending; maximum consistency. |
| Sky is good, useful terrain is too dark | Separate terrain exposure. | The ground can use a different duration or ISO than the stars. |
| Close foreground outside the depth of field | Separate shot with a different focus distance if necessary. | The problem is not only exposure. |
| Moon well positioned | Use its light if the rendering works. | It can give the relief volume without artificial light. |
| Artificial light is genuinely useful | Low, controlled lighting. | Only if permitted, discreet and consistent with the night scene. |
If you separate sky and ground, keep the same viewpoint and framing as much as possible and capture the variants before moving the tripod. The goal is not to turn the mountain into a daytime landscape, but to recover the level of readability your intention requires.
Stacking, equatorial tracking and panoramas: know what each method solves
Stack several sky frames
Stacking several similar images can reduce random noise after the stars are aligned. It becomes relevant when each non-trailed exposure contains usable signal but a single image remains too noisy for the intended output.
Aligning the stars shifts the terrain, however: sky and foreground do not follow the same reference frame. Here we keep the principle; a detailed software tutorial is not the subject.
For an easy-to-process series, keep framing, focal length, focus and settings consistent, shoot within a fairly short window and watch for clouds, dew, stray lights or tripod movement.
Hot pixels and long-exposure noise reduction
Fixed coloured points or a noise pattern can become more visible during long exposures. Some cameras offer long-exposure noise reduction that adds processing after capture, sometimes for a duration close to the exposure time itself. Its behaviour depends on the model.
There is therefore no “always on” rule. For a single image, the function may be useful. For a series intended for stacking, processing time can break the cadence and allow the sky to move farther between frames. Check the camera manual; detailed RAW handling of hot pixels remains in the development guide.
Use a tracking mount
An equatorial tracking mount — often called a “star tracker” — approximately compensates for the apparent rotation of the sky by moving the camera with it. It allows longer sky exposures before stars turn into trails, which can increase signal or open other setting compromises.
But the tracker does not follow the mountain: during a tracked exposure, the terrain blurs or moves. A tracked landscape therefore often requires one tracked exposure for the sky and one untracked exposure for the terrain from the same position.
Tracking also adds polar alignment, power and setup time. If a short focal length and fixed exposures already deliver the expected quality, that complexity may solve nothing. Use a tracker because it fixes an identified limitation, not because astrophotography is supposed to be tracked.
Astro panorama
A panorama becomes useful when the desired section of the band or arch exceeds the field of a single image, or when you want more resolution. The astro-specific constraint is that the sky continues to rotate during the sequence: a slow acquisition increases differences between panels.
Prepare the celestial geometry, keep exposure, focus and white balance consistent and complete the series without unnecessary interruptions. A panorama made on a tracking mount adds the difference between tracked sky and fixed terrain. Overlap, rows, parallax and stitching remain covered in Photographing a panorama in the mountains.
Dew can look like bad focus
On a cold or humid night, an optic exposed to the sky can cool to the dew point. Contrast gradually falls, stars develop halos and a series that began sharp becomes milky.
The most useful clue is progression: if successive images become increasingly diffuse while the focus ring has not moved, inspect the lens before redoing all the focusing.
During a series intended for stacking or a panorama, inspect the lens between sequences: discovering dew late can invalidate many frames.
Diagnose a failed image before changing every setting
| Symptom | Causes to test first | Logical action |
|---|---|---|
| Elongated stars | Exposure too long for focal length/resolution/tolerance; tracking poorly adjusted if using a tracker. | Shorten the exposure or correct tracking. If only the corners are distorted, check aberrations instead. |
| Very noisy sky | Few photons, poor transparency, insufficient aperture, exposure too short or bright sky background. | Optimise signal first; consider stacking if a single exposure is already at the right compromise. |
| Milky Way almost invisible | Wrong direction/time, region hidden by the ridge, twilight, Moon, artificial glow, haze, smoke, clouds or dew. | Check geometry and sky before changing ISO or processing. |
| Good sky, black mountain | Sky/ground contrast too high. | Accept the silhouette, use moonlight or capture a separate terrain exposure. |
| Colour cast | Directional artificial glow, haze, cloud veil, preview white balance. | Identify the real source; correct colour in RAW without systematically hiding the phenomenon. |
| Moon too dominant | Unfavourable altitude/azimuth or proximity to the frame. | Wait, change date/framing or deliberately use its light on the terrain. |
| All stars soft | Missed focus or focus ring moved. | Refocus with magnification on a star, then check the file. |
| Series becomes increasingly milky | Progressive condensation. | Inspect the optic and deal with dew before touching focus. |
| Huge sky, uninteresting relief | Unbalanced relationship between visual masses. | Reduce the sky, change the section of the band, the time or the viewpoint. |
| Milky Way in the wrong place | Location/date/time/direction set incorrectly or relief mask ignored. | Return to geometry; processing cannot fix an incorrect astronomical orientation. |
The field method in 11 decisions
- Define the role of the Milky Way: subject, structure or context.
- For the actual location and date, check altitude, azimuth, band shape, darkness and Moon.
- Compare the path with the real ridge and light pollution in that direction.
- Preview the sky–mountain relationship before night and keep an alternative framing.
- Focus on a bright star with magnification, then lock it.
- Choose a usable aperture, estimate a conservative duration for the accepted trailing, then set ISO.
- Make a real image and check stars, edges, signal, foreground and lens.
- Correct one cause at a time.
- Move to stacking, a tracking mount, a second exposure or a panorama only if a specific limitation justifies it.
- Note what EXIF describes poorly: Moon state, transparency, dew, focusing method or light dome.
- Never let the astronomical window push back a return time or a decision to turn around that was already set.
General preparation, route planning, weather and mountain safety remain in Preparing a mountain photography outing. An astronomical window never overrides a turnaround criterion set before nightfall.
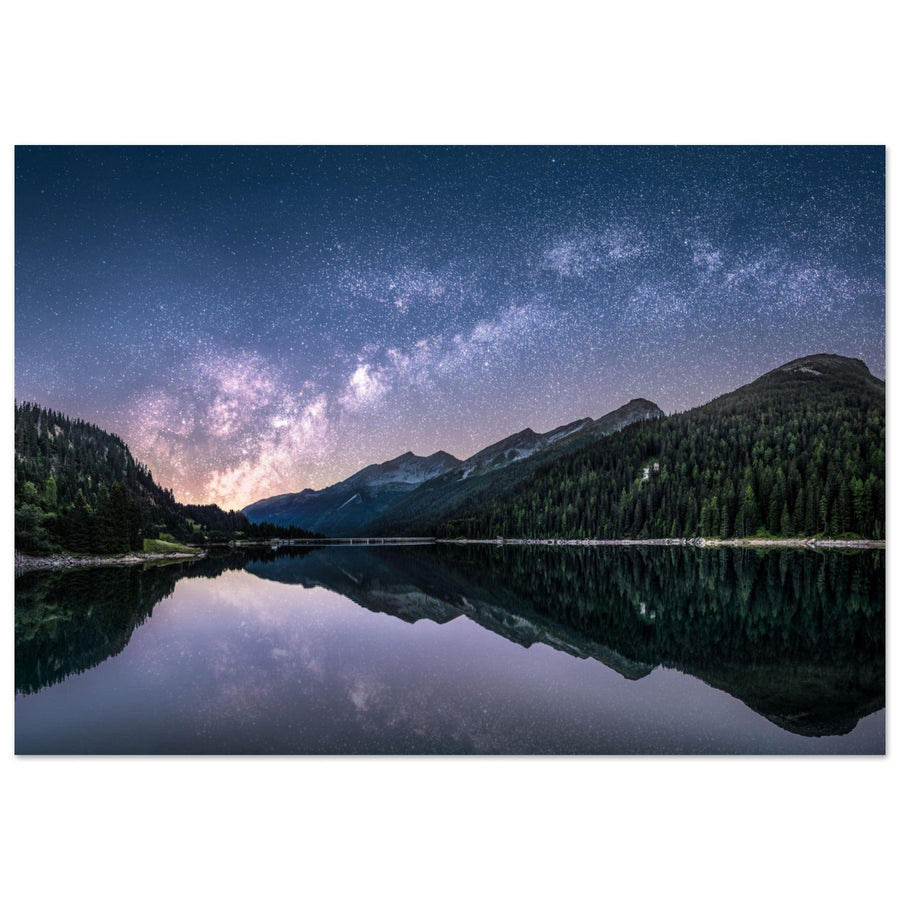
To see compositions combining the night sky and mountain terrain, explore our photo prints of the Milky Way in the mountains.