Light | Photographing sunset
Photographing sunset in the mountains is not about waiting for the disc to touch the horizon. Evening is a sequence: a face still receives direct light, a shadow boundary progresses, a summit may remain lit while the valley fades, the Sun may enter or leave the frame, then the disc disappears and yet the sky continues to illuminate the scene during twilight.
The useful skill is therefore to follow light as it withdraws without reducing it to an official time. You need to anticipate where it will actually leave the terrain from your viewpoint, choose the role of the Sun in the image, reassess composition and contrast as the lit areas contract, then decide whether the best moment has already passed, is happening now or still lies after visible sunset.
The general principles of direction, height and direct or diffuse light belong to the parent guide on light. Here, they are applied only to the evening sequence.
The official sunset time is a reference. A ridge or the orientation of a face can remove direct light much earlier.
As the lit area contracts, the hierarchy of the frame changes. The right composition may change with it.
The Sun can remain outside the frame and simply illuminate the subject. In the frame, it becomes a very dominant element that needs a function.
Visible sunset opens twilight. Contrast and colour can become more interesting after the Sun disappears.
1. Sunset is a sequence, not a minute
The official sunset time follows a precise astronomical convention. It describes the position of the Sun relative to a reference horizon; it guarantees neither that the disc is still visible from your location nor that the face you are photographing still receives its light.
For usual calculations, sunset is conventionally taken as the moment when the apparent upper edge of the solar disc reaches an unobstructed horizon, with average atmospheric refraction. This convention is useful for an ephemeris; it is not a model of your actual ridge.
To work cleanly, distinguish three moments:
- the official sunset time;
- the moment when the disc disappears behind your actually visible horizon;
- the moment when your subject stops receiving direct light.
These three moments can be very different. That is why “arrive 45 minutes early” or “shoot at sunset time” is not a reliable mountain method.
Choose the phase that serves the subject. A fully modelled face may be stronger twenty minutes before visible sunset; an isolated summit in the last light may be better during the transition; a silhouette under a coloured sky may become more coherent afterwards.
2. Predict the real last light: azimuth, elevation and local horizon
An ephemeris or planning tool can give you the Sun’s azimuth and elevation for a location and time. These values describe its astronomical direction. They then need to be compared with the terrain.
A nearby ridge may rise several degrees above the theoretical horizon. If the Sun drops below that angle in the relevant direction, it disappears for you even though the official sunset time has not yet arrived. Conversely, a higher viewpoint or clearer horizon can prolong visibility.
The moment a face loses light also depends on its orientation. A beautiful western sky is not enough to guarantee that the slope you are looking at is still directly illuminated.
Why summits sometimes stay lit
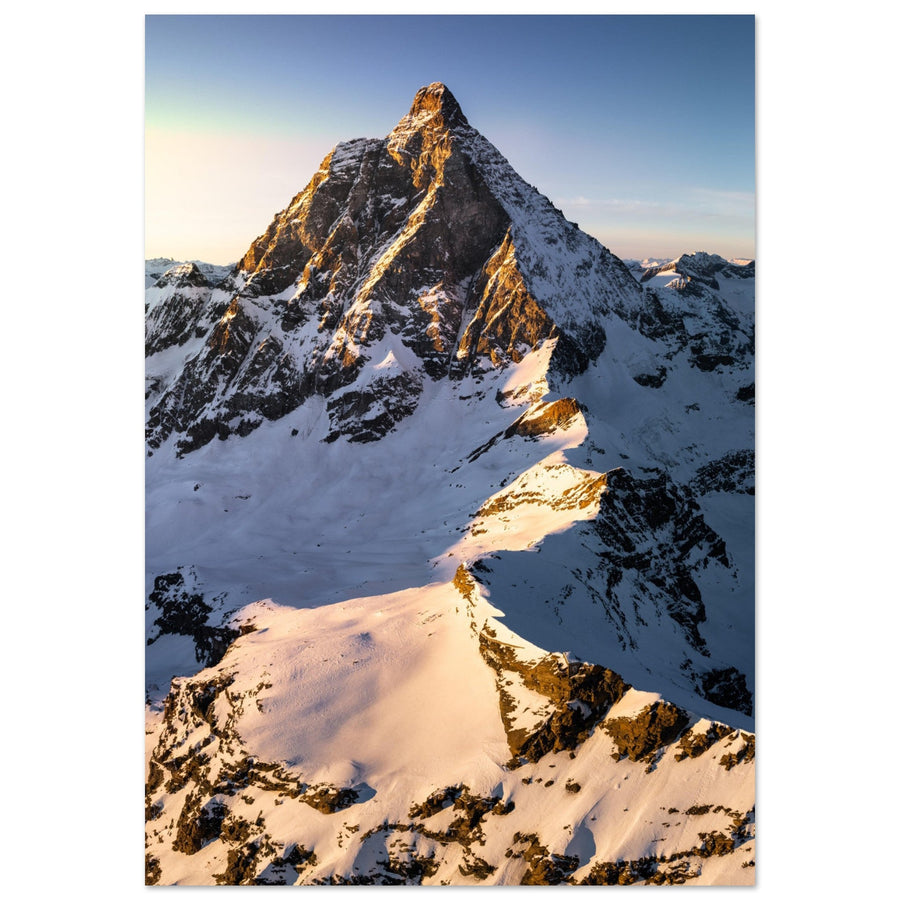
As topographic shadow gains ground across the landscape, the valley floor or a lower slope may lose the Sun before a higher ridge. The latter still rises above the obstruction and receives the direct beam. The photographer may then see the shadow boundary climb toward the upper parts.
In the field, look for that boundary before checking the clock. Identify what is blocking the Sun and observe the direction of movement. You can then prepare the next phase instead of realizing too late that the light has left your subject.
3. As the light withdraws, the hierarchy of the frame changes
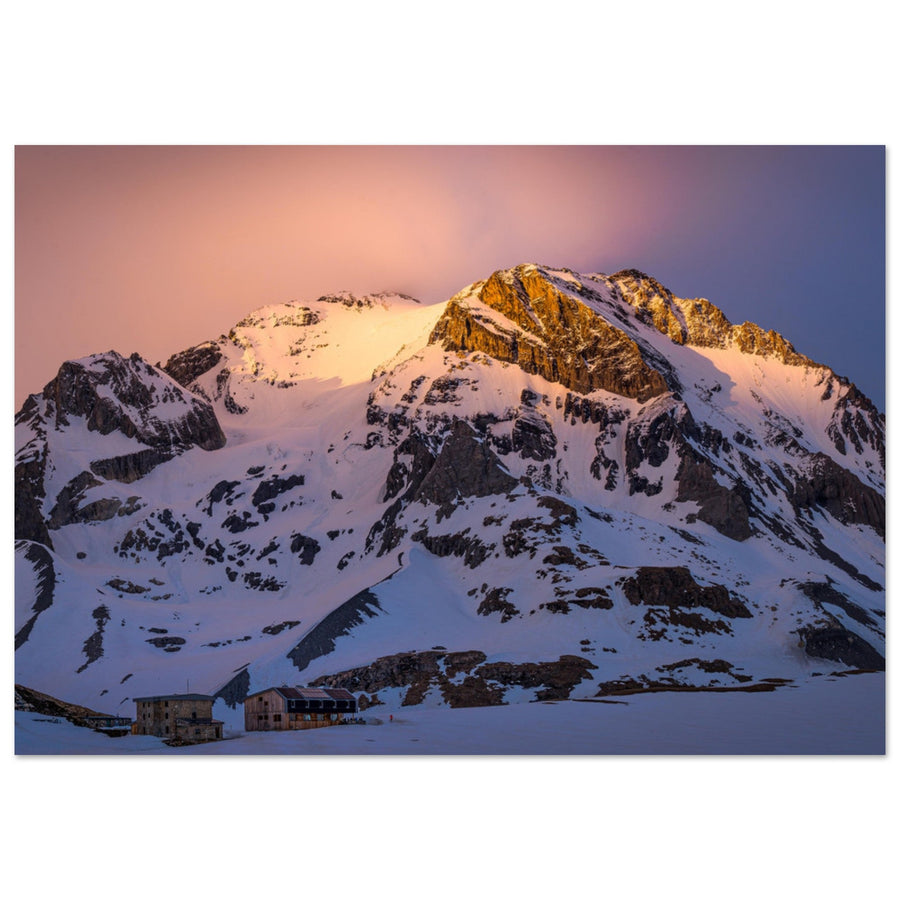
At the start of the sequence, several elements may carry similar visual weight. Then a large slope falls into shadow while a small ridge remains warm and bright. The area that previously attracted little attention can become the main subject within minutes.
The composition that worked before the transition is therefore not necessarily the one that works during it.
Photograph before the last light
Keep this phase if several layers still have volume, the main face remains readable or the shadows structure the terrain better. Waiting for the final ray can sometimes weaken a scene that was already successful.
Photograph the transition
A band of light, shadow boundary or isolated summit can greatly simplify the image. If the small lit area becomes the real subject, give it enough space and remove what no longer has a function.
Photograph after
When the terrain no longer receives direct light, silhouettes, sky gradients and luminance differences can take over as structure. The entire scene being in shadow does not mean the session is over.
If the sky becomes spectacular but the image remains weak, return to the composition question: which mass, ridge or subject actually organizes the frame? Colour alone does not create hierarchy. General principles remain in Composition in mountain photography.
4. The Sun can be outside the frame, inside it or secondary
Sun outside the frame
If your real subject is a face, ridge or summit in the last light, the disc has no obligation to appear. You use its direction without giving it the enormous visual weight it immediately takes on in an image.
Sun in the frame
The disc becomes a very bright and highly attractive point. It can be the subject, a counterpoint or an element of the composition, but it needs a function. Mentally hide it: if everything else collapses visually, the frame may have been built around brightness rather than around the landscape.
Backlight / silhouette
A ridge or tree can become a deliberate silhouette against a bright sky. If you instead wanted to show the material of a face and it turns black, the light geometry probably no longer serves that intention.
The disc partly hidden by a ridge
A few seconds can separate a scene dominated by a very bright portion of the disc from one where the Sun is completely hidden and contrast drops noticeably. Photograph these two states separately. The best result is not necessarily the one with the maximum amount of Sun still visible.
Also avoid mechanically centring the disc. The Sun already attracts the eye strongly; its placement should strengthen the terrain or the sky–mountain relationship, not replace composition.
5. Flare, veiling and ghost reflections: decide whether they serve or destroy the image
A very strong source in the frame or just outside it can create internal reflections: flare, veiling or ghost images. These effects depend on the lens, source angle and scene.
A light veil can be embraced. It becomes a problem when it erases subject texture or creates a patch that attracts more attention than the mountain.
- Check the front element before attributing every veil to the optics.
- If the Sun is just outside the frame, use the lens hood and see whether a small angle change removes stray light.
- If the Sun is in the frame, the hood cannot block the source itself: compare several very close angles.
- Check the file after shooting; some ghost images are easier to spot in the recorded image.
- If you keep the flare, verify that it genuinely strengthens the atmosphere rather than hiding the subject.
6. The dynamic range of the scene changes: recheck, do not apply a recipe
The general theory of exposure belongs to Exposure in mountain photography. At sunset, the specific issue is temporal: the scene can change very quickly.
As long as the disc or a very bright part of the sky is in the frame, the difference from the terrain can be large. A few moments later, the disc disappears, maximum luminance drops and the sky–terrain relationship can become much easier to manage.
After every phase change, make a fresh check
- are the important highlights still preserved?
- do the histogram or warnings show a significant change?
- is the subject still readable or has it become a silhouette?
- do wind, clouds or people limit a possible multi-frame sequence?
Protect especially the highlights that carry important information. A tiny specular highlight with no useful texture may be acceptable; a large area of sky or snow that has lost all detail may contradict the intention.
Try one exposure first
If useful bright areas are preserved and important shadows remain sufficiently usable for your result, a single file is the simplest choice.
Bracket only if the scene requires it
If protecting the sky makes part of the terrain you genuinely want to retain unusable, and the scene remains stable enough between frames, bracketing can become relevant. There is no sunset-specific number of frames or EV interval.
Fast clouds, vegetation, water or people can change between frames and complicate merging. One well-placed exposure can be cleaner than a theoretically perfect sequence.
7. After the disc, the sky continues to illuminate the scene
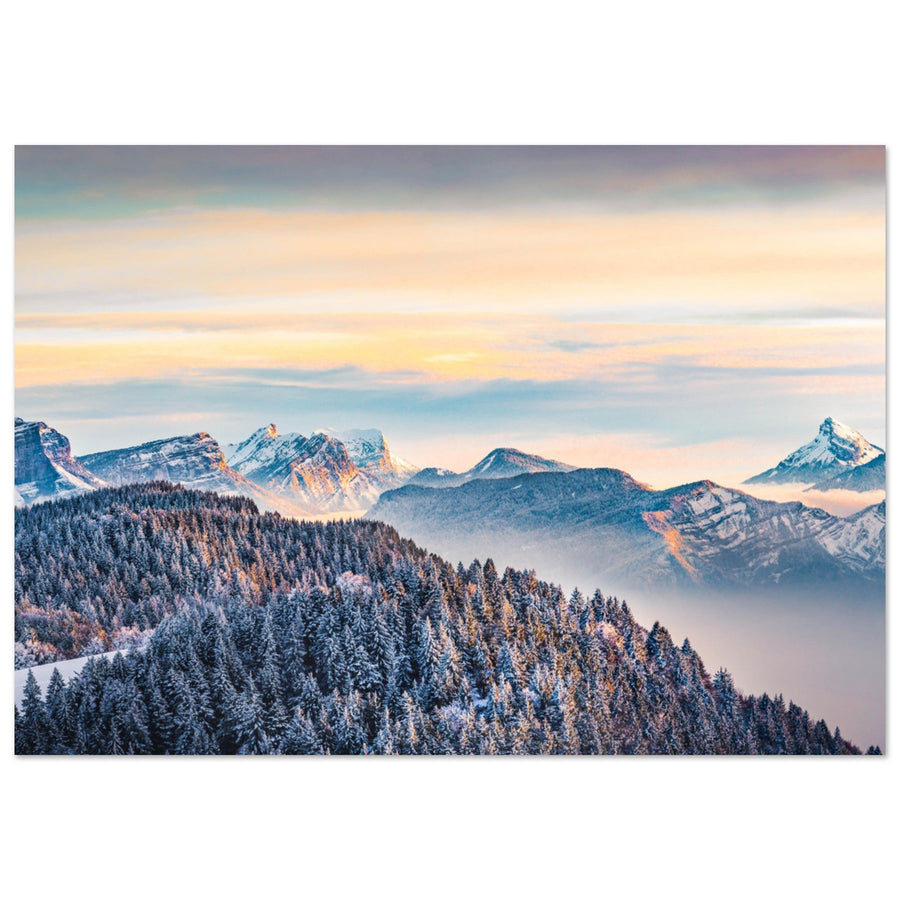
Visible sunset does not instantly plunge the landscape into black night. The Sun has passed below the horizon, but its light continues to be scattered by the atmosphere during twilight.
The sky can therefore retain or develop colours after the disc disappears. When the Sun is low, its light travels through a greater thickness of atmosphere; short wavelengths are scattered more strongly out of the direct beam, often favouring warmer tones in the remaining light.
The form and intensity of those colours remain highly variable. Clouds, aerosols, mist and transparency alter scattering. Depending on their nature and quantity, aerosols can enhance some colours or instead create a dull veil. There is therefore no recipe such as “a few clouds = beautiful sunset”.
What changes just after the Sun disappears
- the terrain is no longer directly illuminated and becomes more uniform;
- the sky can remain much brighter than the ground;
- colours can shift or become more visible;
- artificial sources can start to carry more weight;
- sharp shadows gradually disappear in favour of diffuse light.
An image that was difficult a few seconds earlier can therefore become better after sunset: less dominated by the disc, less contrasty or simpler.
A covered horizon does not automatically mean “failed session”
A cloud bank can hide the disc and remove the last direct light. A gap can also create a band of light or crepuscular rays. These become visible when light is partly blocked and then scattered by particles or droplets in the atmosphere.
These effects are opportunistic: a cloudy sky guarantees neither rays nor colour. If the initial scenario disappears, change your reading rather than manufacturing in post-processing the light the terrain never received.
When to move into blue hour
This guide stops when the intention changes. As long as you are following the disappearance of direct light and its immediate consequences for the sky–terrain relationship, you are still in the sunset sequence.
When the scene becomes mainly a search for balance under cool diffuse light, lower luminance or artificial sources, continue with Photographing blue hour. There is no universal minute marking the switch.
8. Sunset is not synonymous with golden hour
An evening can produce strongly marked low, warm and grazing light. It can also never produce that quality on your subject.
Golden hour describes a quality of light. Sunset describes a temporal sequence around the disappearance of the Sun.
If the targeted face is not oriented to receive direct late-day light, waiting for a “golden hour” will not change its geometry. An orange sky elsewhere in the scene is not enough to create golden light on the terrain.
Conversely, interesting golden light may be present well before the disc disappears, while the sunset phase itself later becomes less strong. To work on this light quality independently of morning or evening, use Photographing golden hour in the mountains.
9. Sunset is not sunrise in reverse
Sunrise and sunset share the local horizon, direct light, changing contrast and possible presence of the disc. Their operational sequences are not symmetrical, however.
| Sunrise | Sunset |
|---|---|
| The session may begin in darkness and rapidly gain light. | The session often begins with an environment that is still readable and then darkens. |
| Direct light appears on some areas and the scene progressively gains illumination. | Direct light withdraws; depending on the terrain, the still-lit area may contract toward ridges or summits. |
| The appearance of the Sun often opens a stronger-light phase. | The disappearance of the Sun opens a twilight that remains photographically active. |
| If the session continues after sunrise, the return can take place with more light. | The longer the session continues, the more a return in darkness becomes a concrete constraint. |
| One risk is arriving too late for dawn or first light. | Two risks coexist: arriving too late for the last light or leaving too early before the post-sunset phase. |
These differences prescribe neither opposite compositions nor reversed settings. They mainly change how the sequence is managed. Photographing sunrise remains the owner of the morning sequence.
Return margin, headlamp, access and the decision to stay belong to Preparing a mountain photography outing. This guide keeps only the essential reminder: a potential new image does not suspend the margin decided before the outing.
10. A field method for following the sequence
- Identify the initial state. Which faces still receive direct light? Where is the shadow boundary?
- Identify the next transition. Which ridge will hide the Sun from the subject? Which summit may stay lit?
- Prepare several readings. One frame for the current structure, another tighter one if the light concentrates.
- Decide the role of the Sun. Outside the frame, inside it as a deliberate element, or absent.
- Reassess after every change. Composition, highlights, silhouette, flare and terrain readability.
- After the disc, observe before packing away. Contrast or sky may become better.
- Move to the right method. If the intention becomes a blue-hour image, change logic.
- Respect the return margin. The next image does not suspend the outing plan.
Three scenarios for choosing the moment
Lit face, Sun outside the frame
Photograph the face while it retains modelling. If the shadow boundary climbs, prepare a tighter frame on the ridge. Compare the version where the whole face has volume with the one where only the last warm area remains.
Sun behind a ridge
Decide whether the terrain should be a silhouette. Check flare. Photograph the disc partly hidden, then test again just after it disappears, when contrast may drop.
No golden hour, but a good post-sunset phase
The planned face never received warm light. Do not force the original plan. Recompose with the dark terrain and sky; if the scene becomes a blue-hour intention, move to the specialist guide.
11. Diagnosis: work back from symptom to cause
| Symptom | Likely cause | Correction to test |
|---|---|---|
| You arrive and the face is already in shadow | The local last light was earlier than the official time or your arrival margin was insufficient. | Return to the local horizon and face orientation; target another phase or another viewpoint. |
| You left as soon as the disc disappeared | Sunset was treated as a final instant. | Assess twilight before packing away, as long as the outing margin allows it. |
| A different face is lit than the one expected | Sun–terrain orientation was misunderstood. | Recheck azimuth, face orientation and topographic obstruction. |
| The Sun disappears much earlier than the app says | A ridge, forest or cloud was not accounted for by the basic calculation. | Identify the real obstruction and treat the calculated time as a reference. |
| The sky is fine but the terrain is too dark | Contrast too high or backlight not embraced. | Wait for a lower-contrast phase, embrace silhouette or consider bracketing if the scene justifies it. |
| A veil or patch dominates | Flare or ghost reflections. | Check the front element, use the hood if the source is outside the frame and test a small angle change. |
| The mountain turns black without intention | Accidental silhouette. | Change phase, axis or intention rather than mechanically trying to recover the whole face. |
| The colour is spectacular but the image remains weak | Colour has replaced subject structure. | Return to hierarchy, masses and the sky–terrain relationship. |
| The sky works, the terrain adds nothing anymore | The composition depended on a foreground or face that has become unreadable. | Simplify the terrain, reduce its share or wait for another luminance balance. |
| The disc is centred and everything else feels secondary | The Sun imposed the composition through its brightness. | Rethink the composition without the disc, then reintroduce it only if it supports the structure. |
| You waited for a golden hour that never arrived | The expected light quality was not geometrically possible on the subject. | Distinguish golden hour from the sunset sequence; change face, viewpoint or project. |