Where to Photograph the Swiss Alps? Photo Spots and Field Tips
Updated July 29, 2026
Photographing the Swiss Alps means working in a territory where great peaks, glaciers, lakes, villages, and mountain trains remain closely linked. The Matterhorn dominates Zermatt and the Gornergrat lines. The Aletsch Glacier draws an immense ice stream between the peaks. The Saastal brings the photographer closer to the high mountains of Valais. In the Bernese Oberland, the Eiger, Mönch, and Jungfrau appear above Grindelwald, Wengen, Mürren, and Lauterbrunnen.
This accessibility is a strength, but also a trap. Lifts and trains quickly reach high vantage points, without guaranteeing good light or a personal composition. The best-known sites are abundantly photographed. To create a strong image, it is therefore necessary to go beyond simply recognizing the place: choose a secondary subject, wait for consistent light, simplify the panorama, and understand how transportation, schedules, and altitude truly influence the outing.
This guide compares the main photographic areas currently covered by AluArtMountains: Zermatt and the Matterhorn, Valais outside Zermatt, and the Bernese Oberland. It does not aim to summarize the entire Swiss Alps. Graubünden, Engadine, Bernina, and the Landwasser Viaduct will form a logical extension when the catalog and network allow for the construction of a sufficiently solid fourth guide.
The Swiss Alps join our editorial architecture dedicated to photo destinations in the Alps. To compare with the bordering French landscapes, also consult our guide for photographing the Mont-Blanc massif.
Explore the Swiss Alps with our three field guides
The covered regions present subjects and constraints too different to be treated in a single itinerary. We have therefore built three complementary N4 guides, each focused on a precise geographical intention.
- Zermatt, the Matterhorn, and the Gornergrat: village, blue hour, Stellisee, Riffelsee, cogwheel train, forest framing, and lights on the Matterhorn.
- Valais outside Zermatt: Aletsch Glacier, Saastal, Hohsaas, Triftgletscher, Verbier, Val de Bagnes, Grand Combin, and Corbassière Glacier.
- Bernese Oberland: Grindelwald, Eiger, Bachalpsee, Kleine Scheidegg, Wengen, Lauterbrunnen, Mürren, and Oeschinensee.
The essential in 30 seconds
- Most iconic destination: Zermatt and the Matterhorn, for the Matterhorn's silhouette, reflections, and the Gornergrat train.
- Best glacial area: Aletsch Glacier from Eggishorn, Bettmerhorn, Moosfluh, or Hohfluh.
- Best accessible high mountain area: Hohsaas and Kreuzboden in the Saastal.
- Best inhabited landscape: Grindelwald under the Eiger or Verbier at blue hour.
- Best vertical valley: Lauterbrunnen, for cliffs, waterfalls, and views from Wengen or Mürren.
- Best lake landscape: Riffelsee, Stellisee, Bachalpsee, or Oeschinensee depending on the desired peak and atmosphere.
- Most useful focal lengths: 24–70 mm for contextualization; 70–200 mm for simplifying panoramas, bringing trains closer, and isolating ridges.
- Key tip: In the Swiss Alps, integrate transport schedules into composition and light, not just travel.
Summary
- Our three field guides
- Why the Swiss Alps are a special photographic terrain
- Table of the best photo areas
- 1. Zermatt and the Matterhorn
- 2. Gornergrat, Riffelsee, and Stellisee
- 3. Aletsch Glacier
- 4. Saastal, Hohsaas, and Weissmies
- 5. Verbier and Val de Bagnes
- 6. Grand Combin and Corbassière Glacier
- 7. Grindelwald and the Eiger
- 8. Kleine Scheidegg, Wengen, and Männlichen
- 9. Lauterbrunnen and Mürren
- 10. Oeschinensee and Blüemlisalp
- The Swiss Alps by train
- Which season to choose?
- What photo equipment to bring?
- Organizing a photo trip
- Safety, trails, and drones
- Mistakes to avoid
- Our photographer's tip
- Discover our photo prints of the Swiss Alps
Why the Swiss Alps are a special photographic terrain
The Swiss Alps stand out less for a single type of terrain than for the proximity between several dimensions of the landscape. Glacial peaks remain visible from inhabited villages. Trains cross the slopes, reach passes, and provide access to high vantage points. Mountain lakes allow for working with reflections, while deep valleys and large rock faces create vertical compositions.
This relationship between nature and infrastructure gives a strong photographic identity. In Zermatt, the Gornergrat train, chalets, and village lights give scale to the Matterhorn. In the Aletsch Arena, the lifts open up several interpretations of the same glacier. In the Jungfrau region, railway lines connect Grindelwald, Wengen, Kleine Scheidegg, and Mürren, with the Eiger, Mönch, and Jungfrau constantly present.
The flip side of this accessibility is high foot traffic and an abundance of already seen images. A successful photograph must therefore explain why this specific framing deserves to exist. A foreground, a track line, a chalet, a moraine, an imperfect reflection, or a burst of light can become more important than the peak itself.
Conditions change rapidly with altitude. A village can remain in fog while a higher viewpoint emerges above the clouds. Conversely, a lift can lead to an opaque layer while the valley enjoys interesting light. Webcams, local forecasts, and operational information should be used to choose an area, not just to confirm an already fixed program.
To prepare for the light, supplement this guide with our articles on mountain sunrise photography, blue hour mountain photography, settings and histogram, and depth composition.
The best photo areas in the Swiss Alps
| Area | Main Subject | Access | Best Light | Ideal Season | Ideal for |
|---|---|---|---|---|---|
| Zermatt | Village, chalets and Matterhorn | Train from Täsch or the valley | Blue hour, clear morning, fresh snow | Autumn, winter, spring | Inhabited landscape, telephoto lens, verticals |
| Gornergrat / Riffelsee / Stellisee | Matterhorn, train, lakes and glaciers | Train or lifts then walk | Sunrise, last light, calm weather | Summer, autumn, winter | Reflections, train, high mountains |
| Aletsch Arena | Great Aletsch Glacier and moraines | Lifts to four viewpoints | Sunrise, side light, post-storm clearing | Summer, autumn, winter depending on access | Glacial panorama, curves, telephoto lens |
| Saastal / Hohsaas | Triftgletscher, Weissmies and 4,000 m peaks | Lifts from Saas-Grund | Morning, fragmented clouds | Summer, autumn, winter depending on facilities | Glaciers, seracs, layered peaks |
| Verbier | Chalets, snow and resort | Road and local transport | Dusk, blue hour, fresh snow | Winter, autumn | Inhabited landscape, warm and cool lights |
| Corbassière / Panossière | Grand Combin, glacier, moraine and refuge | Hike from Val de Bagnes | Morning, late afternoon, after a storm | Summer, early autumn | Wild landscape, glacial lines, refuge |
| Grindelwald | Village and Eiger North Face | Train and nearby paths | Blue hour, morning, fresh snow | Autumn, winter, spring | Village, large wall, telephoto lens |
| Kleine Scheidegg / Wengen | Eiger, Mönch, Jungfrau and trains | Trains and lifts | Morning, side light, changing weather | Summer, autumn, winter | Train, panorama and high-altitude landscapes |
| Lauterbrunnen / Mürren | Valley, waterfalls, villages and Jungfrau | Train, cable car and small train | Diffused light, mist, late afternoon | Spring, autumn, winter | Verticality, waterfalls, depth |
| Oeschinensee | Turquoise lake and Blüemlisalp | Gondola then walk | Morning, autumn, post-storm clearing | Summer, autumn, winter depending on permits | Lake, forest, cliffs and colors |
1. Zermatt and the Matterhorn: building an image around an icon
Access: Zermatt is a car-free village, reached by train from Täsch or directly by the rail network. Best light: blue hour, first light, fresh snow, or stormy sky. Useful focal lengths: 24–70 mm and 70–200 mm.
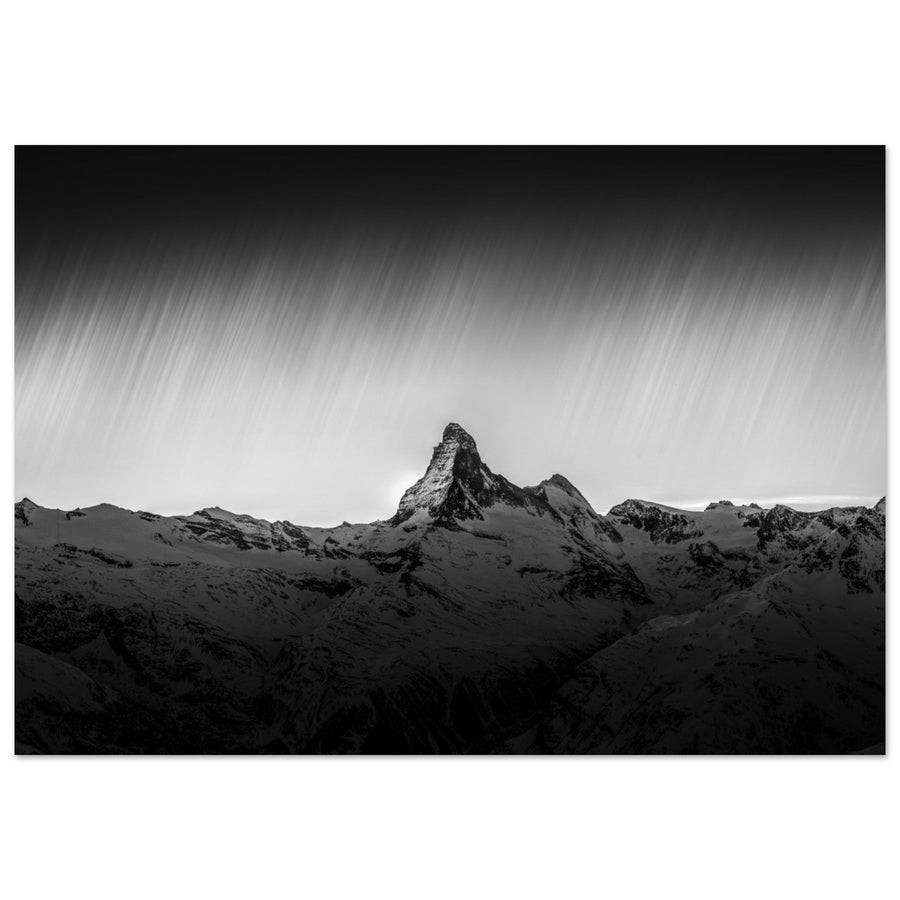
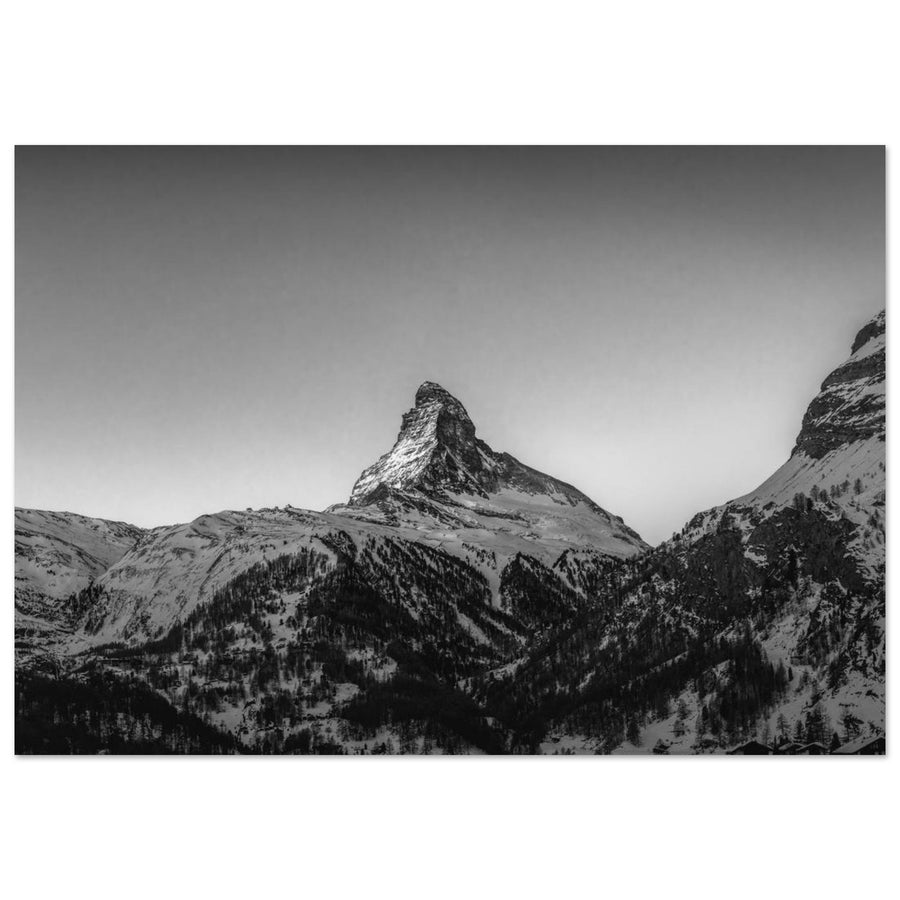
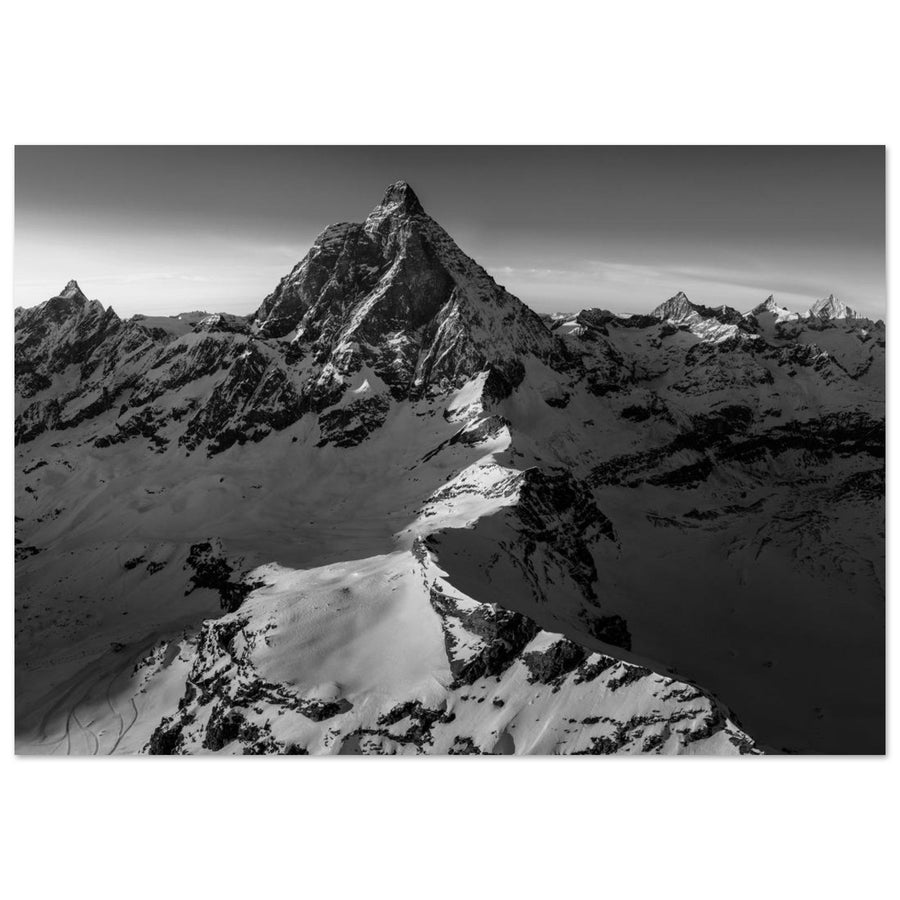
The Matterhorn is the most immediately identifiable subject in the Swiss Alps. Its silhouette works in close-up, vertically, behind a village, or as the endpoint of a larger composition. This visual power can, however, overshadow all other elements. To avoid a generic image, the first choice is to decide what the Matterhorn dominates: Zermatt roofs, an alley, a forest, a train, a lake, or a moraine.
From the village, the most solid frames use a few chalets or a line of roofs rather than a complete urban view. With a telephoto lens, the planes get closer and the mountain seems to weigh on Zermatt. At blue hour, warm lights give scale, but they must remain secondary. Expose before the sky becomes completely dark to retain details on the pyramid.
The alleys and vertical frames allow for a different reading. A facade, a roof, or a path can occupy the bottom of the image while the summit closes the frame. The wide-angle should be used carefully: buildings deform quickly, and the Matterhorn becomes too small if no strong foreground justifies the width.
In winter, snow simplifies roofs and slopes. After a snowfall, work early before surfaces are fragmented by passages and service vehicles. In autumn, larches can create a strong secondary color, provided they do not saturate the entire scene.
The complete guide Zermatt, Matterhorn, and Gornergrat details viewpoints, focal lengths, reflections, and transportation constraints.
2. Gornergrat, Riffelsee, and Stellisee: train, reflection, and high mountains
Access: Gornergrat train to Rotenboden and the terminus; lifts to Sunnegga and Blauherd for Stellisee. Best light: sunrise, last light, and calm weather. Useful focal lengths: 16–35 mm at lake edges, 24–70 mm and 70–200 mm for the train and peaks.
The Gornergrat is one of the most comprehensive areas in the Swiss Alps. The train provides a human presence and a graphic line. Rotenboden opens access to the Riffelsee. The terminus allows for working with the Gorner Glacier and peaks over 4,000 meters. On the other side, Stellisee offers a classic reflection of the Matterhorn in a more open landscape.
To photograph the train, locate the curve of the track before the train passes. Posts and installations must be integrated or excluded from the framing. A shutter speed near 1/500 s is a good base for freezing motion, while a telephoto lens brings the train closer to the Matterhorn. Always stay within authorized areas and away from the tracks.
At Riffelsee and Stellisee, wind becomes the main variable. Perfectly calm water gives a clear reflection, but a slight ripple can produce a more personal image. Do not automatically place the waterline in the center. A stone, a curve in the shore, or a strip of vegetation can give more depth than strict symmetry.
Schedules are crucial. The first ordinary transport is not always compatible with the first light. An overnight stay at altitude, a special journey, or a suitable walking approach can change the possibilities. Always check official schedules and trail conditions for the exact date.
Preparing Zermatt and the Gornergrat
3. Aletsch Glacier: curves, moraines, and scale
Access: Aletsch Arena lifts to Hohfluh, Moosfluh, Bettmerhorn, and Eggishorn. Best light: sunrise, side light, and post-storm clearing. Useful focal lengths: 35–70 mm for overall reading, 70–200 mm for details.
The Aletsch Glacier is the best subject in the cluster for working with natural lines. Its central moraines, its curve, and the surrounding reliefs provide an immediately readable structure. From the four official viewpoints of the Aletsch Arena, each perspective modifies the relationship between the glacier and the peaks.
The Eggishorn offers a global view of the glacial tongue and Konkordiaplatz. The Bettmerhorn and Moosfluh produce more oblique angles, interesting for curves and compressions with a telephoto lens. Hohfluh allows for a different relationship with the lower part and the surrounding reliefs.
With a wide-angle, the glacier can become too narrow. An intermediate focal length often gives more weight to the ice while maintaining context. Use a dark rocky area as an entry point, without obscuring the curve. With a telephoto lens, isolate a moraine, a series of seracs, or a punctual light.
To convey scale, a distant silhouette, a path, or a platform can be useful, provided it remains discreet. An image without reference can turn the glacier into a mere strip of snow. Under a cloudy sky, reduce the sky's prominence and focus on the textures, grays, and blues of the ice.
The guide to Valais outside Zermatt compares Eggishorn, Bettmerhorn, Moosfluh and other Valais sectors.
4. Saastal, Hohsaas, and Weissmies: Photographing the High Mountains
Access: Lifts from Saas-Grund to Kreuzboden and Hohsaas; separate accesses from Saas-Fee depending on the sector. Best Light: Morning, fragmented clouds, and post-front conditions. Useful Focal Lengths: 24–70 mm and 70–200 mm.
The Saastal is characterized by the density of its high peaks. From Hohsaas, the Weissmies, Lagginhorn, Fletschhorn, and Triftgletscher create a spectacular landscape, but one that is difficult to simplify. Wide-angle lenses easily include too many elements. The moraines, glacier, and changes in slope should form a clear progression.
Clouds are often useful. They hide part of the peaks, create layers, and allow localized light to become the main subject. Maintain a telephoto composition for several minutes and wait for a ridge or serac to stand out.
Kreuzboden lends itself to a gentler approach. The lake, slopes, and vegetation provide foreground elements. Choose a single element: shoreline, stone, clump of grass, or reflection. An accumulation of details weakens the high mountains in the background.
From Saas-Fee and areas accessible by lifts, the relationship between village, forests, moraines, and glaciers allows for storytelling about altitude transition. During blue hour, a telephoto lens brings the village lights closer to the peaks, but exposure must preserve the illuminated areas.
Prepare for Saastal
5. Verbier and the Val de Bagnes: Photographing an Inhabited Mountain
Access: Road, public transport, and lifts depending on the viewpoint. Best Light: Dusk, blue hour, and fresh snow. Useful Focal Lengths: 35–70 mm and 70–200 mm.
Verbier offers a different subject from glaciers and large faces. The resort, chalets, roads, and lights become a central part of the image. The relief must remain sufficiently present for the scene to retain its alpine identity.
During blue hour, set up before the lights are fully on. The best window is when the sky and snow still have cool tones, while a few chalets provide warm spots. If you wait too long, the lights become dominant, and the mountains disappear.
A road or a slope line can lead to a group of buildings. With a telephoto lens, select a part of the village and bring it closer to the relief. Avoid overly wide shots that give the impression of a generic resort or a real estate photograph.
After a snowfall, work quickly. Clean surfaces enhance the lines of roofs and roads. Light metering can underexpose the snow: check the histogram and protect the highlights without turning white into gray.
In the Val de Bagnes, more open views allow placing the villages within the valley's curves. Dams, roads, and slopes can become guiding lines. A telephoto lens helps simplify a landscape often rich in infrastructure.
6. Grand Combin and Corbassière Glacier: The Wildest Sector
Access: Hikes from Haut Val de Bagnes, especially towards Panossière depending on the chosen route. Best Light: Morning, late afternoon, and post-front weather. Useful Focal Lengths: 24–70 mm and 70–200 mm.
The Grand Combin massif and the Corbassière Glacier represent the most demanding sector of this cluster. The Panossière hut, moraines, footbridge, and views towards the Combins require real hiking preparation. The subject is not limited to the summit: the glacier and terrain lines provide the structure.
From the trails, use a moraine or a glacial curve as an entry line. With a wide-angle lens, get close to a rocky foreground without exaggerating its size. With a telephoto lens, isolate the seracs, ice layers, and the relationship between refuge and mountain.
Side light reveals textures better than the harsh midday sun. Under an overcast sky, the ice retains subtle nuances. A light break can be enough to separate an area of the glacier. Don't try to open all shadows: dark rock adds weight and conveys the site's mineral character.
Human presence can reinforce scale. A silhouette or the hut works when it remains small and naturally integrated. Never stage a person near an exposed area. The composition must adapt to safe terrain, not the other way around.
Prepare for Haut Val de Bagnes
7. Grindelwald and the Eiger: Village, Snow, and Great Wall
Access: Train to Grindelwald, paths and viewpoints near the village. Best Light: Blue hour, clear morning, and post-disturbance. Useful Focal Lengths: 24–70 mm and 70–200 mm.
Grindelwald allows photographing one of the strongest relationships between a village and an alpine wall. The Eiger North Face dominates the chalets, meadows, and roads. This proximity creates a powerful image, but buildings and infrastructure can quickly fragment the foreground.
From a slightly elevated point, select a few lines of chalets rather than the entire valley. A road, meadow, or forest edge can guide towards the Eiger. With a telephoto lens, planes move closer, and the wall appears more imposing. With a 24–70 mm lens, maintain more context when clouds or light justify the width.
During blue hour, expose before the village lights take over. Windows and roads should structure the bottom of the frame, not become the main subject. In winter, snow simplifies surfaces and reveals lines; after a snowfall, photograph early before the landscape is too marked.
The Bernese Oberland guide details the viewpoints of Grindelwald and their relation to First, Kleine Scheidegg, and Lauterbrunnen.
8. Kleine Scheidegg, Wengen, and Männlichen: The Eiger–Mönch–Jungfrau Trio
Access: Cogwheel trains and lifts from Grindelwald or Lauterbrunnen. Best Light: Morning, side light, and changing conditions. Useful Focal Lengths: 35–70 mm and 70–200 mm.
Kleine Scheidegg combines large walls, trains, and pass landscapes. The red Jungfrau train is a very strong graphic subject. Look for a track curve or diagonal that leads towards the Eiger and Mönch. A telephoto lens reduces installations and brings different planes closer.
The Eiger–Mönch–Jungfrau panorama is spectacular but can lack hierarchy. With a wide-angle lens, use a slope, snow patch, or track as a foreground. With a telephoto lens, work on the relationship between two peaks or a particular light on a glacier.
From Wengen, the Lauterbrunnen valley is seen from above. Chalets and meadows provide a foreground, while the valley floor creates depth. Mist is often favorable: it separates cliffs and hides secondary elements.
Männlichen offers a wider panorama of the peak trio and the valley. A short walk beyond the facilities can be enough to find a cleaner ridge or trail. Don't photograph solely from the obvious platform: look for a natural line capable of structuring the space.
Transportation offers great flexibility, but timetables remain a priority for the end of the day. The last train may leave before the best light. An overnight stay or an early morning program often offers more possibilities than a day packed with connections.
9. Lauterbrunnen and Mürren: Waterfalls, Cliffs, and Depth
Access: Train to Lauterbrunnen, then train to Wengen or cable car and small train to Mürren. Best Light: Diffuse light, mist, late afternoon, and thaw period. Useful Focal Lengths: 24–70 mm and 70–200 mm.
The Lauterbrunnen valley demands a vertical reading. The cliffs, Staubbach Falls, the church tower, and the villages must remain separate. From the valley floor, a vertical composition reinforces the height of the waterfall. A horizontal composition retains more of the village and peaks.
Diffuse light facilitates waterfall photography. Under harsh sun, water can disappear in bright areas, and the cliff becomes very high contrast. A shutter speed between 1/10 s and one second is a good starting point to maintain readable motion without turning the fall into a white stripe.
From Wengen or Mürren, the valley takes on another dimension. Planes overlap, and villages become scale points. A telephoto lens brings the valley floor closer to the cliffs. Low clouds and mist should not be seen only as bad weather: they can organize an overly rich scene.
Prepare for the Jungfrau Region
10. Oeschinensee and Blüemlisalp: Lake, Forest, and Alpine Cirque
Access: Cable car from Kandersteg then walk. Best Light: Morning, autumn, and post-disturbance. Useful Focal Lengths: 24–70 mm and 70–200 mm.
Oeschinensee brings a lakeside identity to the cluster. The water's color, forests, and the Blüemlisalp massif form a naturally strong composition. The risk is to only seek the turquoise of the lake and excessively saturate the colors.
From the lakeside, wide-angle works when a shore, a stone, or a water curve creates a foreground. Keep facilities and groups of visitors out of the frame as much as possible, without leaving authorized paths. From a higher point, an intermediate or long focal length provides a better reading of the lake's shape and brings the massif closer.
The color varies with light and angle. High sun sometimes enhances the turquoise but produces harsh contrasts. Morning offers more calm and more even light. After a disturbance, clouds and light breaks add depth to the cliffs.
In autumn, the warm hues of the forests complement the blue of the water. Saturation must remain contained. In winter, access and presence on the lake depend on official authorizations; never rely on traces left by other visitors.
Prepare for Oeschinensee
Swiss Alps by Train: A Photographic Subject in its Own Right
Trains are one of the most distinctive elements of the Swiss landscape. They don't just serve to reach a spot: they provide scale, color, line, and sometimes movement. The Gornergrat Bahn, the Jungfrau railway, and the connections in the Lauterbrunnen region allow for creating images where the infrastructure remains consistent with the mountains.
The train in the landscape
The train should be part of an existing line: track curve, slope, moraine, or succession of embankments. Scout the scene before the train passes and choose the precise spot where the train should appear. A short burst around this position is more effective than continuous shooting.
The train as the main subject
With a telephoto lens, bring the train closer to the peaks and reduce installations. A shutter speed close to 1/500 s is a good starting point for freezing motion. Adjust it to the distance, focal length, and actual speed. A slower speed can suggest movement, but it requires a fixed point and a clear intention.
Photographing from a Train
Place the lens close to the window without touching it. Wear dark clothing and create a shaded area around the lens hood to minimize reflections. Use a fast shutter speed and anticipate open sections: trees, poles, and tunnels can quickly interrupt your shot.
Never cross a railway track or set up on railway infrastructure. Your viewpoint must remain within authorized areas. A slightly less perfect composition is better than taking risks or trespassing.
Which Season to Choose for Photographing the Swiss Alps?
Winter: Snow, Trains, and Populated Landscapes
Winter is particularly suitable for Zermatt, Gornergrat, Grindelwald, Kleine Scheidegg, Wengen, Mürren, and Verbier. Snow simplifies slopes, enhances the presence of trains, and clearly separates chalets. Cold conditions, reduced operating hours, and ski resort rules must be factored into your schedule.
Spring: Waterfalls and Valley-Summit Contrast
Spring is ideal for Lauterbrunnen, where melting snow enhances the waterfalls. In the valleys, vegetation regains its colors while the summits remain snow-covered. However, high-altitude trails may still be closed or covered with snow patches.
Summer: Maximum Access and Demanding Light
Summer opens trails to Bachalpsee, Oeschinensee, Panossière, and high viewpoints. Crowds and harsh midday light increase. Start early, wait for late afternoons, or work under a structured sky.
Autumn: Larches, Forests, and Shorter Days
Autumn brings strong colors around Zermatt, Saastal, Mürren, and Oeschinensee. The light is lower, but lifts may reduce their operating hours. Carefully check schedules before planning a sunset at high altitude.
Post-Disturbance Conditions
The moments following a weather front often produce the best images: clouds around the Eiger, light on the Aletsch Glacier, clearings in the Saastal, or mist in Lauterbrunnen. Plan several backup sectors at different altitudes rather than a rigid schedule.
What Camera Gear to Bring to the Swiss Alps?
- 24–70 mm: Main lens for villages, glaciers, lakes, and contextualized landscapes.
- 70–200 mm: Essential for simplifying panoramas, bringing trains closer, and isolating ridges.
- 16–35 mm: Useful by lakes and in steep valleys, only with a strong foreground.
- Stable tripod: Blue hour, reflections, waterfalls, and precise waiting.
- Polarizing filter: To be used sparingly on water and glaciers, without weakening a reflection or unevenly darkening the sky.
- Extra batteries: Cold weather and long waits quickly reduce battery life.
- Rain protection and cloth: Snow, condensation, waterfalls, and changing weather.
- Suitable footwear: Lifts do not eliminate altitude or slippery passages.
- Offline map and power bank: Useful when chaining multiple transports and trails.
The best compromise is often a camera body, a 24–70 mm, and a 70–200 mm lens. A lighter bag makes it easier to walk, wait, and change viewpoints. The third lens is only justified if the program genuinely includes very wide scenes by a lake or in a valley.
To ensure sharpness, consult our guide on focus and depth of field in the mountains.
How to Organize a Photo Trip to the Swiss Alps?
Choose One Main Region
A short trip should not attempt to connect Zermatt, Aletsch, and Lauterbrunnen on the same day. Distances, connections, and elevation changes reduce the time available for optimal light. Choose one main base and save a second region for another trip.
Plan for Three Altitude Levels
For each day, identify a high point, an intermediate sector, and a valley subject. If the summit remains in the clouds, the village or forest might work. If the valley is foggy, a lift might allow you to emerge above the cloud layer.
Build the Schedule Around the Last Return Trip
Sunset is not the only important time. The last train or cable car often determines the actual time available. A high-altitude session must include the journey to the station, a safety margin, and any connections.
Reserve Weather Days
A day without a major spot is preferable to a schedule that forces you to photograph under unsuitable light. Keep at least half a day flexible. Webcams and operational information allow you to modify the order of sectors without completely improvising.
Example Distribution
- Zermatt, three days: Village and blue hour; Gornergrat and Riffelsee; Sunnegga, Findeln, and Stellisee.
- Valais outside Zermatt, four days: Aletsch Arena; Saastal; Verbier; Grand Combin or weather day.
- Bernese Oberland, five days: Grindelwald; First; Kleine Scheidegg; Lauterbrunnen–Wengen; Mürren or Oeschinensee.
Safety, Respect for Places, and Drone Regulations
Transportation provides access to high altitudes quickly. Cold, wind, fog, and lack of acclimatization can make a short outing more difficult than expected. Consult the weather, trail conditions, and operational information before each departure.
Do not venture onto a glacier without appropriate skills, equipment, and guidance. The visual proximity of a glacier tongue does not mean the terrain is accessible. Crevasses can be hidden, and moraines unstable.
Stay on authorized paths and areas around lakes, villages, railway tracks, and lifts. Do not cross a fence to get a cleaner foreground. Meadows are often private or actively farmed. Car-free villages remain inhabited places: avoid tripods in front of entrances and intrusive shots.
Drone
In Switzerland, national and cantonal restrictions may apply around airfields, heliports, protected areas, and reserves. The official map evolves and must be consulted before each flight. General open category rules do not supersede local geographical restrictions.
A technically authorized flight may still be unsuitable near a train, lift, busy village, or wildlife. Consider noise, the presence of people, and emergency services operations. Drones must remain on the ground during emergency interventions.
Official General Sources
Mistakes to Avoid When Photographing the Swiss Alps
- Trying to cover multiple regions in a single day: Connections waste time that could be dedicated to optimal light.
- Choosing a viewpoint solely because it is accessible: A convenient lift does not guarantee the right orientation or the best time.
- Only shooting with a wide-angle lens: Summits appear small, and infrastructure takes up too much space.
- Automatically placing the reflection exactly in the center: Symmetry should serve the subject, not replace composition.
- Ignoring the last transport: A good session can become dangerous or costly if the return is not prepared.
- Oversaturating lakes and forests: Turquoise and autumn colors quickly lose their natural appearance.
- Considering clouds as a failure: They simplify massifs, separate planes, and create localized light.
- Confusing tourist access with easy terrain: Altitude, snow, and weather remain real constraints.
- Multiplying unrelated links and products: Every image and every reference must correspond to the sector actually described.
Our Photographer's Advice
In the Swiss Alps, first choose the relationship you want to show. The summit can dominate a village, reflect in a lake, appear behind a train, close off a valley, or extend a moraine. This relationship determines the focal length, viewpoint, and time of day.
Don't systematically seek the highest point or the widest view. A more confined scene, with a train, a waterfall, a line of chalets, or a bright opening, often retains more impact when printed in large format.
Finally, build your schedule around the light and your return journey. Swiss transport facilitates access, but their timetables are an integral part of photography. An exceptional spot reached too late is less useful than a secondary sector photographed at the right time.
Discover Our Photo Prints of the Swiss Alps
Swiss landscapes lend themselves to very different compositions: the silhouette of the Matterhorn, the curves of the Aletsch Glacier, the glacial peaks of the Saastal, villages beneath vast rock faces, red trains in the snow, vertical waterfalls, and turquoise lakes. This variety allows the artwork to be adapted to the format, room, and desired ambiance.
The photographs are offered as photo prints on matte Dibond aluminum, made to order. Each artwork remains attributed to its true photographer.
Our Iconic Swiss Alps Selection
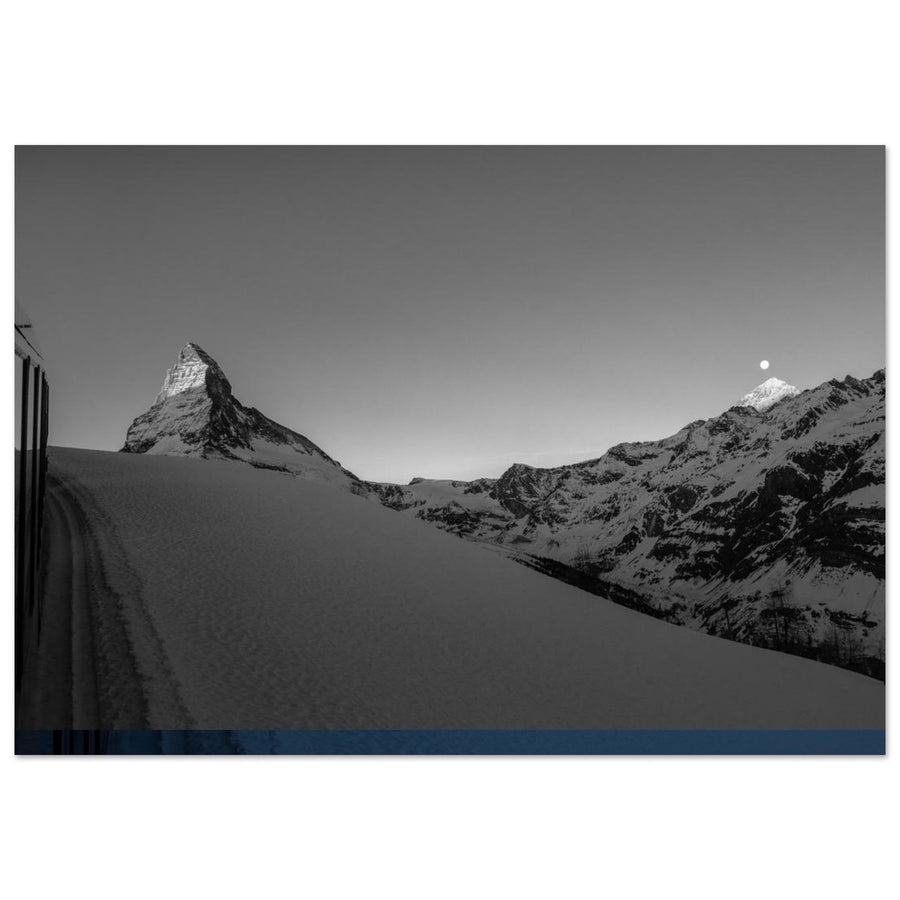
The Gornergrat train traverses an almost monochrome winter landscape while the Matterhorn closes the composition. The railway line provides movement and a precise scale to the massif.
See the photo print of the Gornergrat train facing the Matterhorn
- Discover mountain photo prints in Switzerland
- View Zermatt photo prints
- Explore the Matterhorn and Cervin collection
- Discover Alps glacier photo prints
- See the Aletsch Glacier at sunrise
- See Triftgletscher and Weissmies
- See Grindelwald beneath the Eiger at blue hour
- See Lauterbrunnen and the Staubbach Falls
- See Oeschinensee and the Blüemlisalp in autumn
For detailed information, consult our guides on Zermatt and the Matterhorn, Valais outside Zermatt, and the Bernese Oberland.