Integration simulation: choosing the right size and height in a staircase
Customer review • Individual • Integration simulation


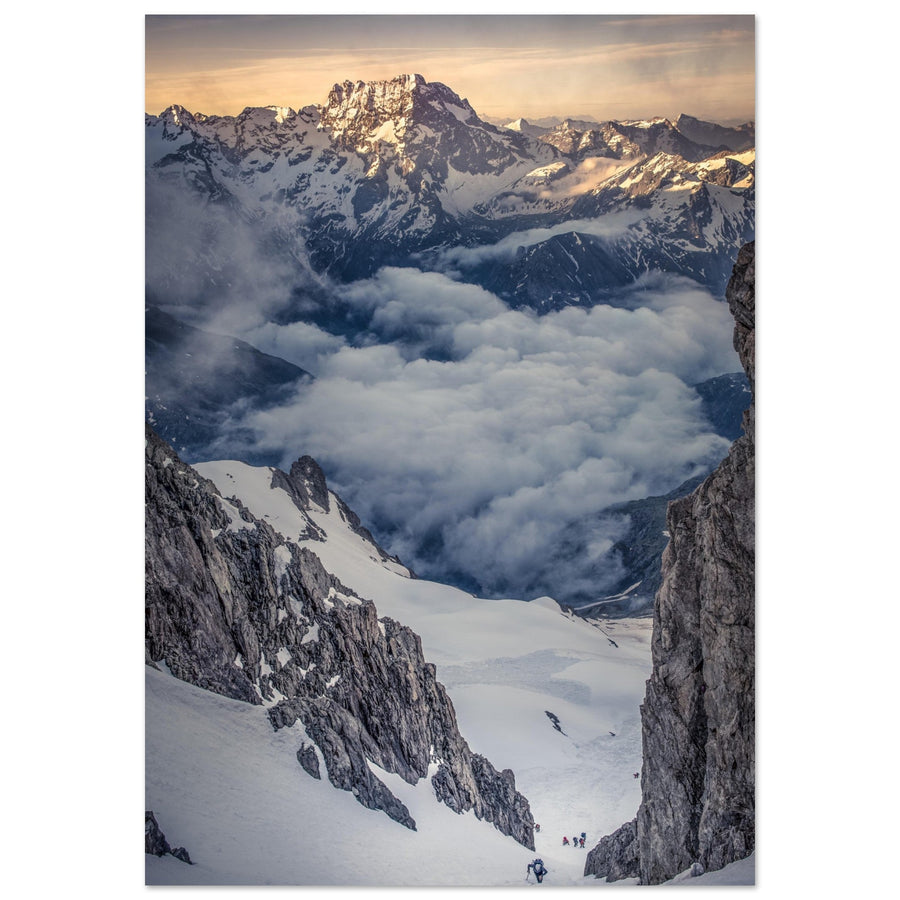
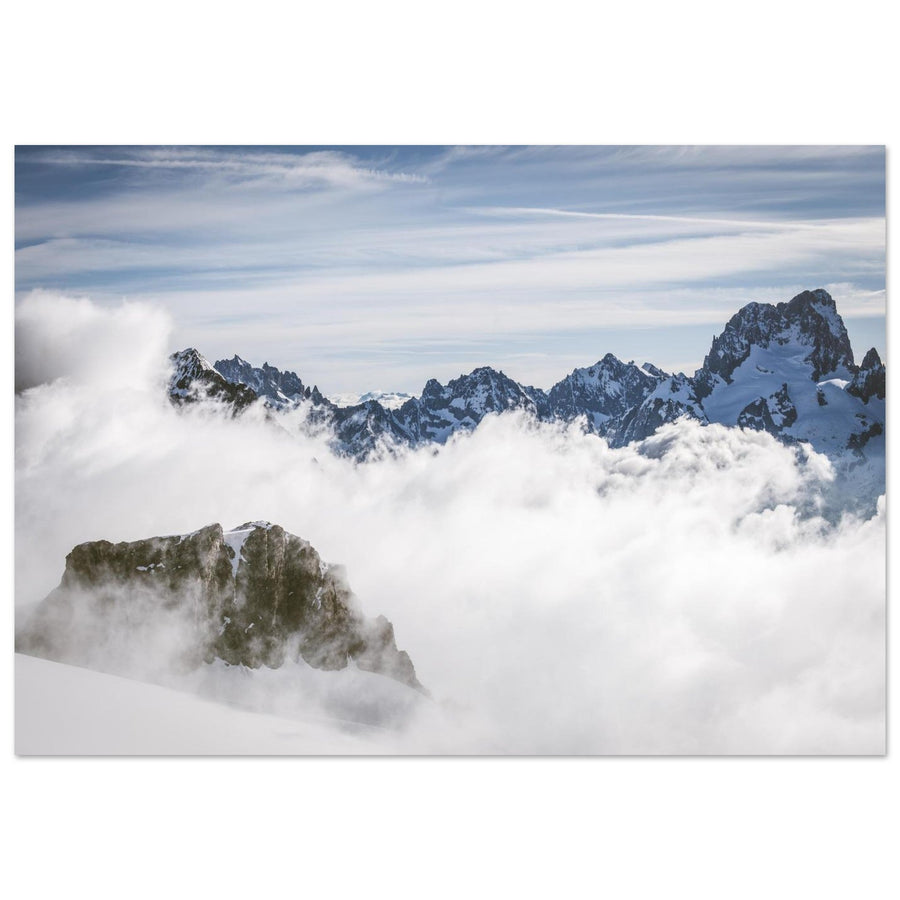
In a staircase , the scale is deceptive: open volumes, low-angle shots, side windows… To avoid any doubts, I suggest a simulation of the integration using your photos. Here, we have selected a Large vertical format to complement the perspective and balance the wall niche.
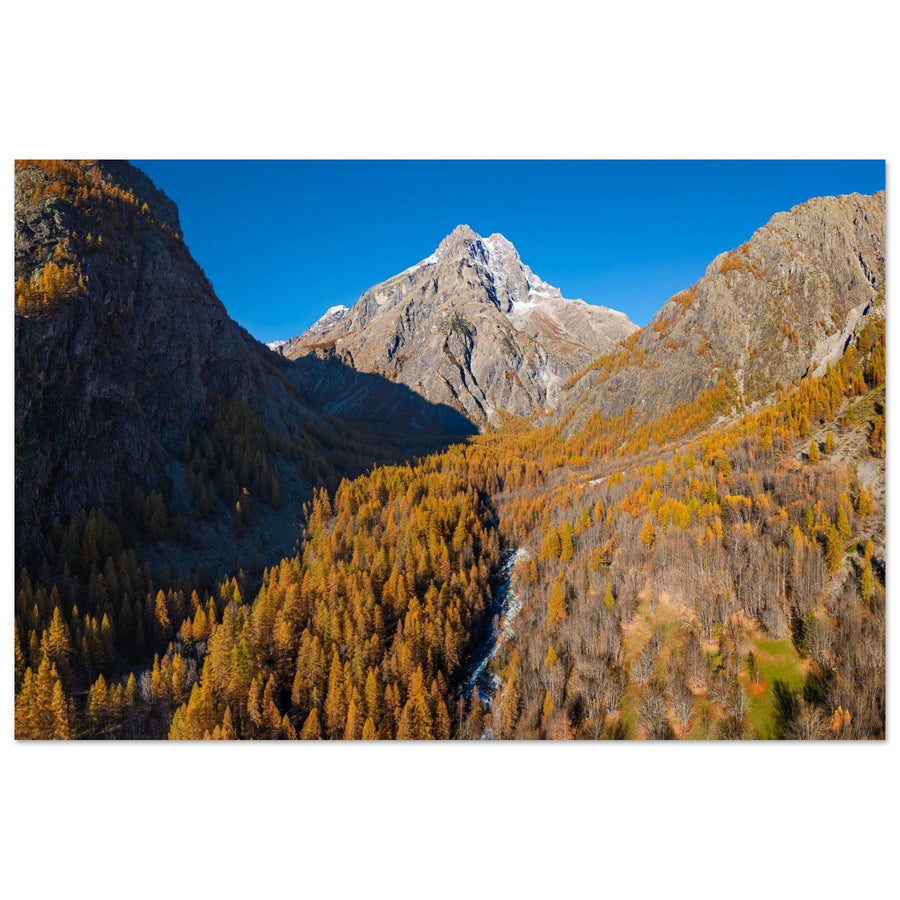
Selected image: Photo of the corridor towards the Rouies plateau & the Barre des Écrins .
My 3-step process
- Send me 2-3 straight photos + a measurement (wall width, height, etc.).
- I simulate 1 to 2 relevant sizes (e.g. 60×90, 70×100) and the optimal position (center/top of the gaze).
- We approve the format and the visuals; you can order with peace of mind.
Quick tips for a staircase
- Vertical format recommended to follow the line of the steps.
- Center of the view at ~150–160 cm from the nose of the main landing.
- If there is a window, opt for matte Dibond aluminum to limit reflections.
How to brief me (for a quick simulation)
- 2–3 photos taken straight (smartphone OK) and a reference measurement (e.g., width of the wall or step).
- Specify the target area (landing, stairwell, niche) and format preference if you have one.
- I am sending back a scale model + size and height recommendations.
Frequently Asked Questions
What size staircase should I choose?
Often, a vertical format fills the space better and follows the line of the stairs. I simulate two sizes for visual comparison.
At what height should the picture be mounted?
Aim for a center of the view at ~150–160 cm at the level of the main landing to remain at eye level.
How to avoid reflections?
If a window provides grazing light, opt for matte Alu Dibond rather than a glossy finish.
➤ Visual: Photo of the corridor towards the Rouies plateau & the Barre des Écrins — Request my simulation
I'll prepare the HD image and advise you on the format. Production/framing: through my shop or your preferred provider.