Ski Touring in the Alps: Landscapes, Light, and Photography
Photographing ski touring in the Alps means working with a landscape whose interpretation changes as soon as a track crosses the snow. A diagonal on a slope, a silhouette in front of a summit, or a series of kick turns can reveal the relief more clearly than an entirely pristine view.
This guide focuses on light, composition, and useful settings for photographing these winter scenes. It does not suggest itineraries or assess conditions: outing preparation, terrain choice, and safety decisions must always remain independent of the desired image.
Before any outing
Snow and weather conditions change rapidly. Consult official information from Météo-France Montagne, including the avalanche risk assessment bulletin when available, and adapt every decision to your experience, the terrain, and the group. Prevention recommendations from the Ministry of Sports complete this preparation. No photograph justifies extending an outing, changing an itinerary, or exposing oneself to greater danger.
In this guide
Why do ski tracks transform the landscape?
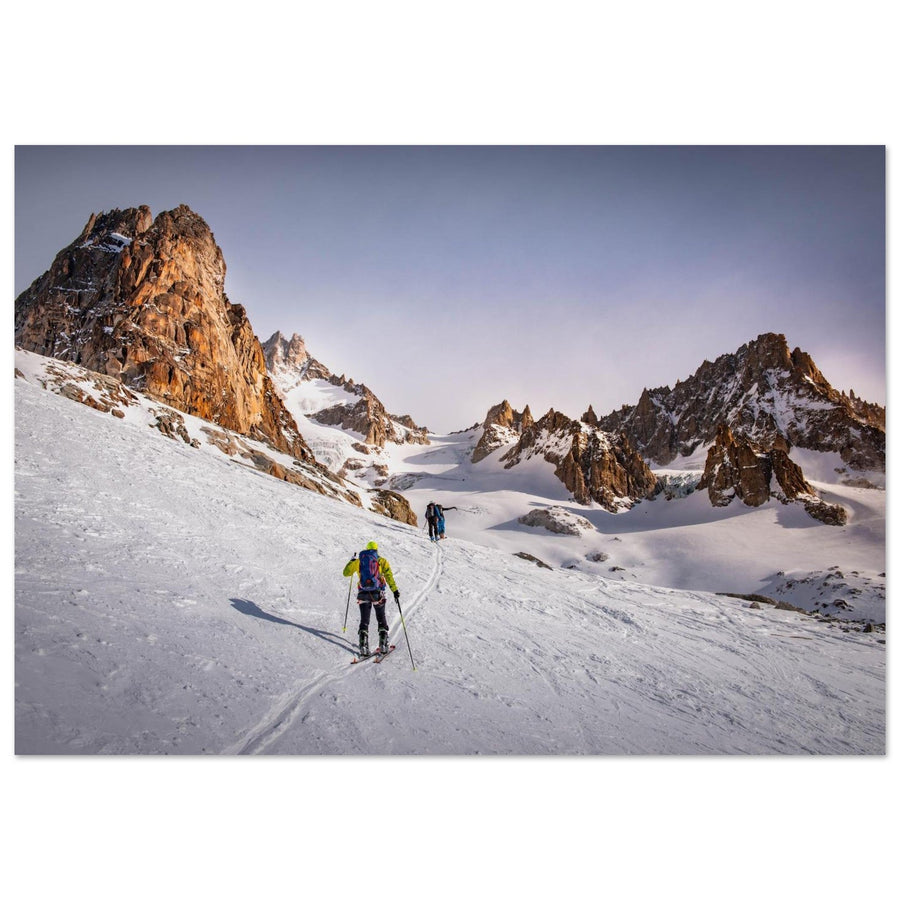
A snow-covered slope can appear almost abstract. Tracks give it direction, depth, and scale. A diagonal makes the image more dynamic; a series of switchbacks describes the progression; a curve disappearing behind a bulge suggests that the terrain continues out of frame.
When several tracks cross, the scene quickly becomes confusing. We therefore look for a dominant line and keep enough intact snow to let the image breathe.
This reading aligns with the principles of our guide on composition in mountain photography: a line works when it genuinely leads to a skier, a ridge, a pass, or a summit, and not when it abruptly leaves the image.

Using skiers to give scale
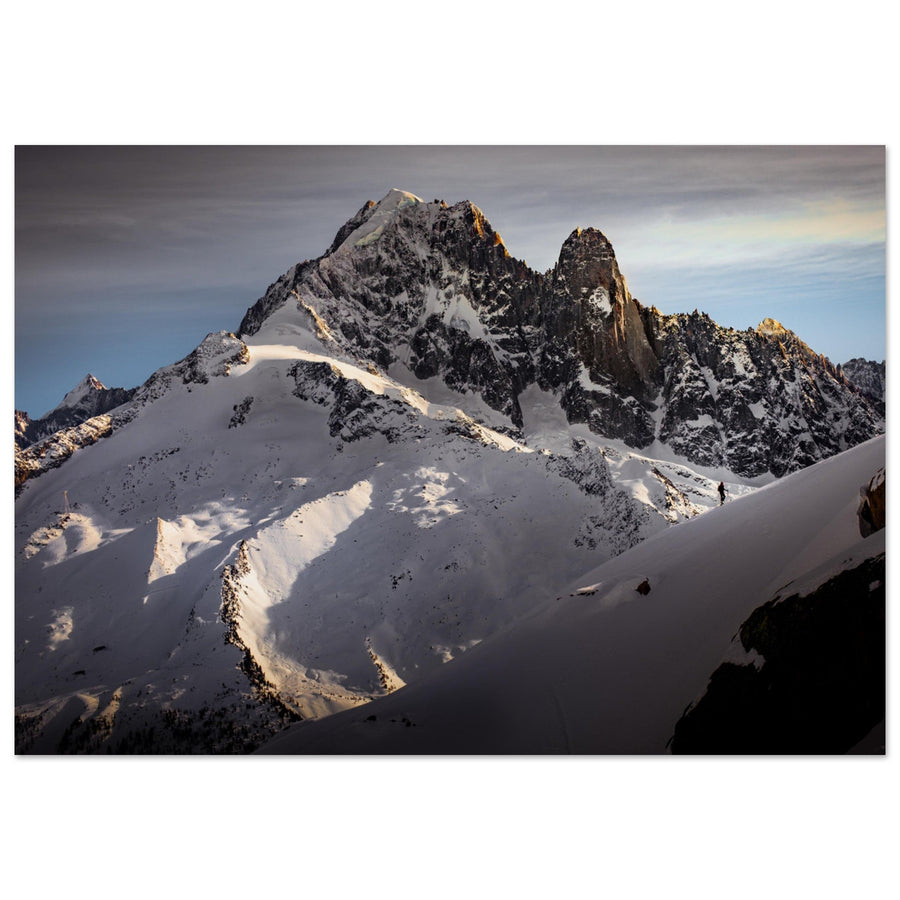
In an alpine landscape, a human silhouette immediately allows one to measure the width of a slope, the height of a wall, or the distance of a summit. The smaller the skier in the frame, the vaster the mountain appears. However, they must remain visible: a position on a uniform snow area or near a strong line facilitates reading.
An isolated silhouette
A single skier creates a clean image and reinforces the relationship between human and mountain. Placement at the one-third mark of the frame often works, but it shouldn't become automatic. Above all, leave space in front of the progression and avoid a dark silhouette blending with a rocky area.
A group in motion
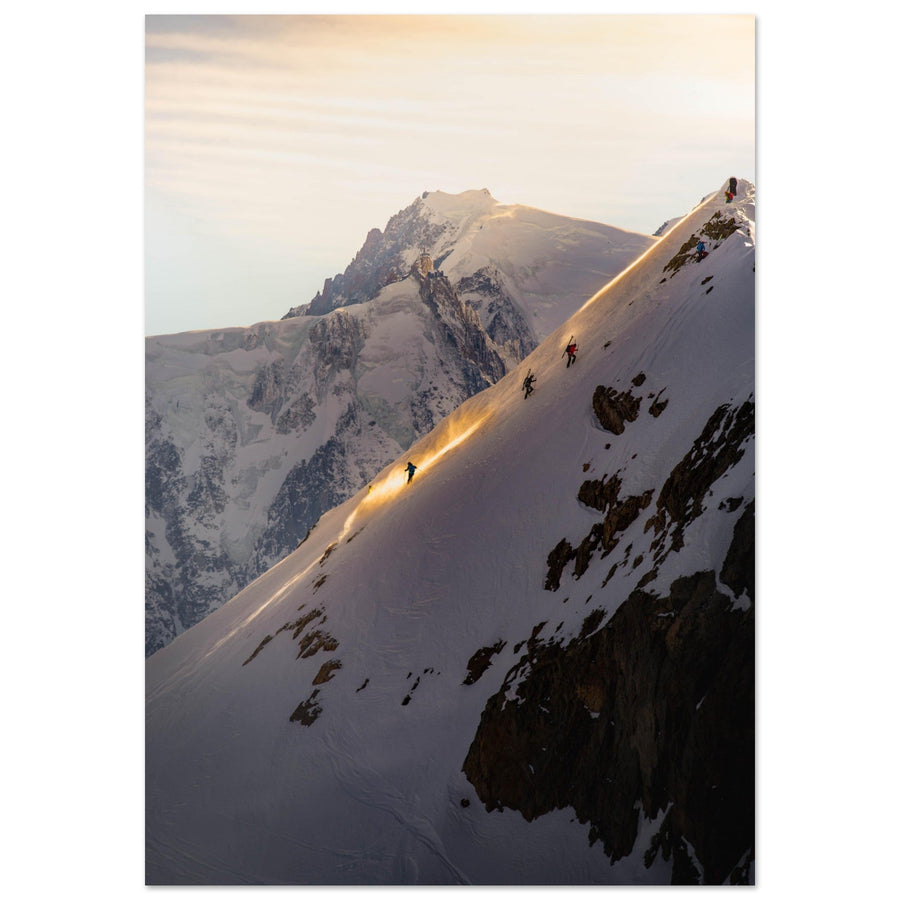
Several skiers introduce rhythm. Their spacing can form a repetition, while a too compact group becomes difficult to read. A short burst helps to choose the moment when the silhouettes separate.

What light to choose for photographing ski touring?
Snow reacts strongly to the direction of light. When the sun is high and behind the camera, volumes can flatten. Lateral or grazing light, conversely, reveals undulations, tracks, accumulations, and ridges.
Sunrise
Before the sun arrives, blue shadows and still-cold ridges create a sober atmosphere. As soon as light touches a summit or slope, the contrast between warm and cold areas can become the main subject. Our guide to photographing golden hour in the mountains details this rapid transition.
Backlight
Backlight works particularly well with a silhouette, a ridge, or lifted snow. It's important to protect the highlights around the sun and ensure the skier doesn't entirely disappear into a dark area. The lens hood and a clean front element become essential.
Blue hour and end of day
The snow retains a cold hue while the last summits may remain lit. This opposition creates strong images, but it should never dictate the return time. To prepare exposure without turning the scene into daylight, consult our guide on blue hour photography.

Correctly exposing snow without losing its relief
A very bright scene can cause the camera to underexpose and render the snow gray. A positive correction can be useful, but it's not a fixed rule. The correct level depends on the light, the amount of sky, the presence of dark rocks, and the metering mode used.
Check the histogram and highlight alert rather than relying solely on the screen. Lit areas must retain detail without excessively darkening the rest of the landscape.
White balance also contributes to the mood. Slightly blue shadows are natural in the mountains and can reinforce the sensation of cold. Neutralizing them entirely sometimes produces yellowish snow. The guide dedicated to settings, ISO, shutter speed, and histogram allows a deeper understanding of these trade-offs.
Starting setting, not universal value
Handheld, shutter speed must first prevent blur from the photographer and skier. Continuous autofocus and automatic ISO can secure changing light. Aperture is then chosen according to the desired depth: a wide landscape often requires more sharpness than an isolated skier with a telephoto lens.
Composing with different alpine reliefs
Large open slopes
A simple slope favors minimalist compositions. A small silhouette, a single track, and a large snow area are sufficient. The sky is only useful if it brings light, color, or a clear separation with the ridge.
Combes and ridges
A combe creates enveloping curves and multiple levels of depth. A ridge produces a sharper line between snow and sky. Photographically, these shapes are effective; on the ground, they should never encourage seeking a better angle in an exposed area or near a cornice.
Glacial landscapes
The glacier gives the scene a monumental scale. Seracs, visible crevasses, moraines, and high summits structure the image. The telephoto lens allows bringing planes closer without advancing towards the subject. We intentionally avoid any itinerary or crossing indications: the article remains centered on photography.

To place these scenes in their territory, our guide dedicated to the best viewpoints for photographing Mont-Blanc completes the understanding of the summits, valleys, and main orientations of the massif.
What equipment to use for photographing ski touring?
Wide-angle to show the terrain
A wide-angle integrates the slope, foreground, and summit. It is suitable for scenes where the skier remains close and the landscape must retain its full grandeur. Pay attention to the edges of the frame, cut tracks, and the distortion of silhouettes placed too close to the lens.
Telephoto lens to isolate and bring planes closer
A longer focal length simplifies composition. It brings a silhouette closer to a ridge, isolates a group, or compresses the different levels of the massif. Above all, it allows photographing without asking the skier to change their trajectory or moving into a less safe area.
Protecting equipment from cold and snow
A spare battery, light protection, and a clean cloth prevent most problems. Upon return, the transition from cold to a warm interior can cause condensation. Equipment must remain accessible without slowing down the group.
Photographing responsibly without disturbing or endangering yourself
- Do not ask to repeat a passage: a photograph should not lead a skier to repeat a traverse, a jump, or a descent.
- Prepare framing in advance: set exposure and autofocus before the subject arrives to avoid immobilizing the group.
- Do not place yourself in the trajectory: maintain an obvious passage area and do not set up immediately downstream.
- Stay integrated into the collective rhythm: getting behind to take multiple images can change the group's progression and decisions.
- Respect winter wildlife: do not follow an animal, avoid quiet zones, and do not publish sensitive locations. Our guide to photographing mountain animals develops this approach.
- Accept to give up: a planned image is never prioritized over the weather, terrain, schedule, or group level.

Which ski touring photo print to choose?
The subject is not limited to the athletic gesture. A work can be chosen for the geometry of its tracks, the scale of a silhouette, the light on the snow, or the presence of an identifiable summit.
For a graphic interior
Tracks, ridges, and large white areas suit minimalist spaces. A clean composition easily dialogues with light wood, white, gray, and contemporary lines.
To preserve the power of the landscape
A wide view of Mont-Blanc, the Aiguilles Rouges, or the Talèfre basin adds more depth. The skier then remains a point of scale rather than the sole subject. A horizontal format naturally accompanies a slope or a succession of summits.
For a more dynamic atmosphere
A more prominent silhouette, a marked diagonal, or a movement in the snow enhances the image's energy. However, it is necessary to check that this intensity remains consistent with the room and the viewing distance.
The photographs are offered on matte aluminium Dibond, made to order in France. The support offers excellent flatness and limits reflections. To size the artwork, consult the guide what size to choose for a photo print, then use the wall simulation to check its scale in your interior.
Photographing ski touring without losing the landscape
The strongest images combine three elements: light that reveals the snow, a track that organizes the relief, and a human presence that gives scale. The skier doesn't need to fill the frame to tell the story of the progression; they can remain a small silhouette within a much vaster alpine landscape.
Photography remains secondary in every terrain decision. When the schedule, weather, snow, or group dictates continuing or giving up, the image will wait. This discipline allows for the creation of natural photographs, without unnecessary staging.