Photographing while mountaineering
In mountaineering, the camera is an additional task in an environment where attention, hands, time and available space are already in demand. The useful skill is therefore not being able to photograph everywhere. It is knowing when photography is compatible with progress, then making the act of taking a photograph simple enough that it becomes neither a forced stop, nor a hindrance to the rope team, nor an obstacle to access to the equipment on which the activity depends.
The principle is deliberately asymmetric: progress, safety and the decisions of the rope team come before the image. Rare light, a well-positioned partner or a summit appearing through the clouds creates no right to a photograph. If taking out the camera requires diverting attention from a technical task, changing a movement used for progress, making someone wait in an unsuitable place or reducing a safety margin, the camera stays packed away.
This guide deals only with the photographic constraints specific to this context: choosing when to photograph, reducing and carrying the kit, keeping the camera accessible without interference, working with gloves and imposed positions, managing cold, batteries, snow, moisture and condensation, limiting lens changes and diagnosing a photo system that has become too heavy, too slow or too distracting. It does not teach any mountaineering technique.
It takes advantage of a position already compatible with progress; a stop specifically for photography makes sense only if the group and situation already provide that margin.
A small kit placed badly can interfere more than a slightly heavier setup that is easy to take out, put away and forget.
Battery life, controls and temperature changes must be tested with your exact equipment, not from a universal temperature or recipe.
If photography consumes too much time, attention, use of your hands or margin, the correction is not a new setting: it is to stop shooting.
The first decision is not a setting: should you take out the camera?
In a conventional landscape situation, you can often spend a few minutes on framing. In mountaineering, that time is not automatically available. Photography competes with other tasks: reading the terrain, following the group’s pace, using your hands, communicating, adjusting equipment or simply continuing to move. The guide therefore begins with a compatibility test, before any photographic intention.
| Question | Compatible with a photograph | Signal to put it away |
|---|---|---|
| The position | You are already stopped in a place your practice considers appropriate, or the group can devote a short pause to it without degrading progress or the available margin. | You need to change your balance, position or way of moving in order to handle the camera. |
| Hands and attention | No task linked to progress or safety requires your immediate attention; taking out the camera does not compete with a higher-priority action. | A hand, your gaze or your attention needs to remain available for something other than photography. |
| The rope team or group | The short pause already exists or was decided for reasons independent of photography. | Someone is waiting only because you are looking for a composition, changing lenses or repeating a shot. |
| Conditions | The equipment can be handled without adding a disproportionate constraint linked to wind, cold, snow or moisture. | Handling becomes slow or awkward, or requires opening the photo system in conditions that are not suitable. |
| The decision to continue | The photograph changes neither the schedule, nor the turnaround decision, nor the assessment of the situation. | “One more photo” becomes an argument for delaying a decision that should be made without photographic considerations. |
This grid does not assess the difficulty of a route and does not replace any mountaineering skill. It serves only to detect the moment when photography begins to modify the activity. As soon as that happens, it loses priority.
An exceptional image is not an exception to the principle
The situations that are most tempting photographically are sometimes the ones where we are most likely to negotiate with ourselves: fading light, a partner crossing a spectacular area, a cloud opening for a few seconds. The criterion does not change. If photography is compatible, shoot. If it is not, let the image go. The success of the guide is therefore not the number of photographs you bring back, but the ability to never let the image decide the progress.
Photograph during windows that are already compatible
The most effective way to reduce interference is to distinguish between two kinds of time: progress, during which the camera may need to disappear completely, and photo windows, moments when a stop or position is already available. A break, a wait decided by the group, a place where you are already observing what comes next or an unconstrained position may provide a few seconds or minutes. Those are the moments to use.
Opportunistic photograph
The camera is accessible, the scene appears, the composition is immediately readable. You shoot within a few seconds and put it away again.
When it works: settings are already coherent, one focal length or a zoom is available, no long handling.
When it fails: you begin making several versions, looking for another lens or asking the group to wait.
Photograph during an existing pause
The group is already stopped for a reason unrelated to photography. You have more time to clean up an edge, choose an orientation or wait a few seconds.
Limit: the pause remains the rope team’s pause, not the photographer’s. If the group starts again, the shoot ends.
Camera packed away
The terrain, a technical task, communication, wind, cold or simply the pace make photography incompatible.
This is not a failure: it is the correct photographic decision in this context.
Photograph your partners without directing their progress
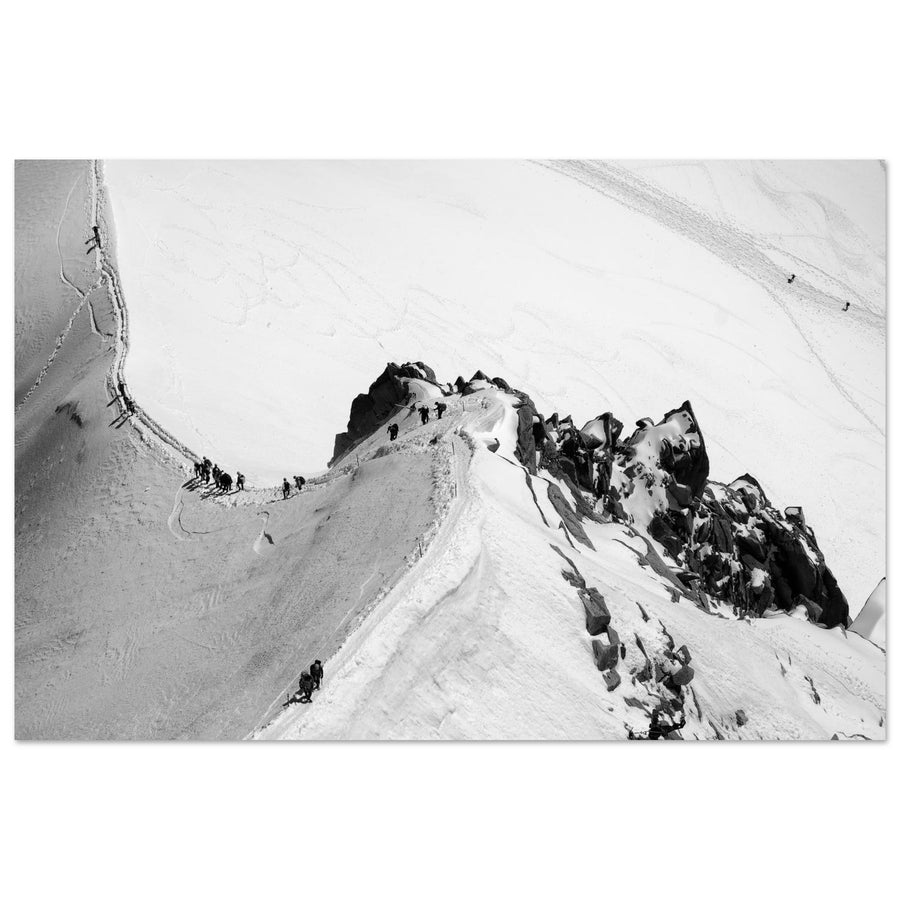
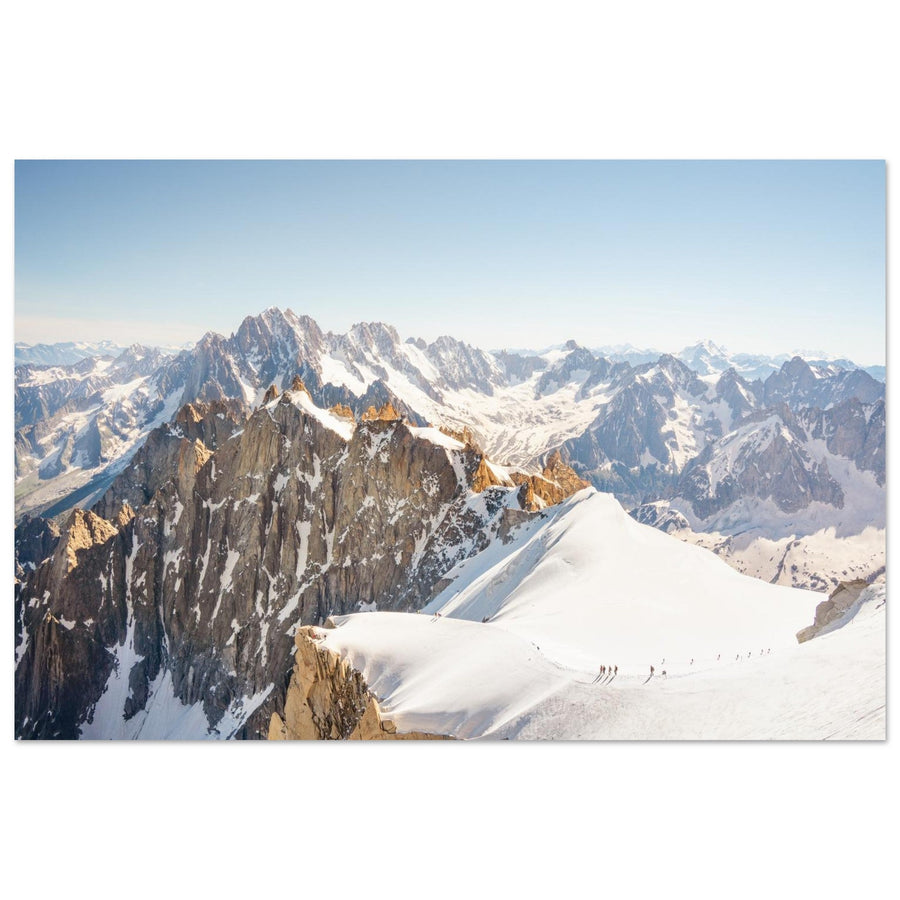
A rope team or mountaineer naturally gives scale, rhythm and a human reading to the relief. But the image must be built from what is already happening. Do not ask someone to change a technical movement, repeat a passage or remain in a position solely for the photograph. If staging is desired, it belongs to a pause and a place that participants already consider appropriate independently of the camera.
Useful coordination can remain very simple: partners know when a brief photo pause can be considered without changing a technical task, and you know that progress will not be prolonged to save an image. This prevents the photographer from becoming a point of dependency for the group.
The best kit is the one that demands almost nothing during the route
The question “which camera should I take?” is too vague. The real problem combines weight, volume, frequency of access, number of handling steps and interference with the rest of the equipment. A 500-gram camera buried deep in the pack may be unusable; an accessible system that swings, catches or blocks access to something else may be even worse.
Choose the kit from plausible images
Start from what you are genuinely likely to photograph during this route: a rope team in the landscape, details of the relief, close scenes, summit atmosphere. If an extra lens answers only a hypothetical image but adds a lens change in a constrained environment, its practical cost may exceed its value. Conversely, a second focal length may be justified if it answers a frequent need and realistic opportunities for changing lenses exist.
There is therefore no ideal camera and no universal mountaineering focal length. The guide Choosing focal lengths and managing perspective explains what angle of view changes. Here, the additional question is: does this choice remain usable when you cannot freely change position or handle the pack?
Test the complete system before relying on it
Set up exactly the pack, clothing, gloves and camera equipment you plan to use, then test taking out the camera, shooting and putting it away in a simple environment. The aim is not to simulate a technical route: it is to detect a cable that catches, a strap that is too long, a camera that swings, a pocket inaccessible with gloves or a photo accessory that interferes with access to other equipment.
If the system is not smooth on easy terrain, it will not improve with cold, fatigue or constraint.
Carry without assigning a safety function to the photo system
A strap, tether or photo clip serves only to carry or retain photographic equipment. This guide does not prescribe any attachment point on mountaineering equipment and does not turn any photo accessory into a safety component. The design rule is simple: the photo system must neither perform a safety function, nor block priority equipment, nor create a loop or dangling object likely to interfere with movement. It must also be possible to put it away completely when the terrain demands it.
An external system may be excellent during a simple approach and become unsuitable farther on. Do not look for one carrying arrangement for the entire day if the context changes: accessibility and storage can alternate.
Changing lenses: reduce how long the system is open instead of chasing perfection
Wind, snow, moisture and dust increase the risk of introducing dirt or moisture during a lens change. If the scene can be made with the lens already mounted, the best change is often the one you do not make. If a change is genuinely useful, wait for a situation where the stop is already compatible, prepare the new lens before opening the mount, shelter as much as possible and leave the mount open for as little time as possible. The exact recommendations from your camera manufacturer remain the priority.
The same principle applies to batteries and memory cards: on paper these are small operations, but they use your hands, open compartments and can result in a dropped item. They are done during a suitable window, never simply because an indicator starts flashing in the wrong place.
Cold mainly changes battery life and the quality of handling
A lithium-ion battery generally provides less available capacity when it is cold. This reduction can be partly temporary: a chilled battery may recover some of its available capacity when it warms up. The practical consequence is not to memorize a universal temperature, but to know the operating range of your camera and batteries, start with charged batteries and carry spares suited to the expected duration and cold.
Keep a spare battery warm, but properly protected
Several manufacturers recommend keeping a spare battery in an inside pocket to limit cooling. Do so with its cap or case so the contacts cannot touch metal objects. A rapidly dropping battery gauge in the cold therefore does not by itself prove that a battery is permanently worn out: compare its behaviour once it has returned to a normal temperature.
With gloves, simplify rather than multiply controls
Ergonomics becomes a major photographic constraint when buttons are difficult to use with your gloves, when touch controls are difficult or impossible to operate with them, or when you have to navigate through several menus. The remedy is prepared before the route: assign the functions you really use to physical controls, prepare a custom mode if useful and test the camera with the exact gloves you will wear.
The aim is not to learn a universal configuration. It is to be able to make essential decisions without relying on lengthy menu navigation or prolonged removal of your gloves. If a setting requires too much handling, first ask whether it is necessary for this image.
Screens and displays: know how your model behaves
Some manufacturers document slower displays or changes in screen and viewfinder behaviour at low temperatures without this necessarily indicating a failure. Again, the useful point is not to generalize to every camera: test your own body in temperatures compatible with its documentation and know what information remains readable with your gloves and configuration. If the interface becomes too slow or difficult to control, reduce handling instead of compensating with even more attention to menus.
Preconfiguring does not mean freezing the settings
An exposure mode or a set of starting parameters can reduce the number of actions, but does not replace reading the scene. For the balance between aperture, shutter speed, ISO, Auto ISO and histogram, use Exposure in mountain photography. This guide adds only one constraint: if the technical correction becomes too long for the available window, the image may no longer be compatible with the moment.
Snow, moisture and condensation: protect without turning the camera into a safe
A construction advertised as weather-resistant does not mean waterproof. The real level of protection depends on the camera, lens, doors, seals and sometimes the complete combination in use. Do not build a routine around abstract confidence in weather sealing: consult the documentation for your equipment and protect it when the conditions justify it.
Active protection: keep the camera usable
A cover, simple bag, lens hood and suitable cloth can limit splashes and keep optical surfaces usable. But protection is useful only if it remains compatible with shooting and storage. A very complex cover that takes a minute to manipulate may eliminate every photo window on the route.
Wipe away water or snow when you are in a situation where you can do so properly, and avoid opening the mount in wind, precipitation or contaminated air if the change can wait. The dedicated snow guide covers its photographic rendering; here, snow is only an operational constraint on the equipment.
Condensation: the critical moment is often the change of environment
A very cold camera suddenly brought into warm, humid air can develop condensation on external and internal surfaces. The prevention method documented by several manufacturers is to isolate the cold equipment in a closed bag or container before changing environments, then wait until it gradually approaches the indoor temperature before opening it.
This precaution does not guarantee the total absence of condensation, but it reduces immediate contact between cold equipment and humid indoor air. It applies when returning to a hut, heated vehicle or accommodation: it is not a reason to prolong handling outside in an unsuitable situation.
Compose from the available position instead of looking for the perfect one
In mountaineering, the photographer does not always have the freedom of conventional landscape work. It may be impossible to move three metres to the left, descend toward a foreground, move farther away to change size relationships or set up a tripod. Composition must therefore begin with a simple question: which images are possible from this position that is already compatible?
When you cannot move: frame with angle of view
From a fixed position, changing focal length or cropping changes what enters the image, not the perspective already determined by your position. A long focal length can isolate a partner or a succession of reliefs; a wider field can include more context. If no composition works from the available position, the answer is not necessarily to look for a better viewpoint: it may be not to make that photograph. The full geometry is covered in Focal lengths and perspective.
Composing quickly does not mean composing randomly
Even in a few seconds, keep a clear hierarchy: what is the subject, where does the eye enter, which masses matter and which edges are distracting? For these principles, see Composition in mountain photography. This guide adds only the discipline not to chase the “best” composition if it requires a position or duration that is not available.
Tripod: a photographic tool, never a mandatory condition
A tripod may be relevant during a long pause, in a place your practice already considers compatible, with enough space so deployment interferes neither with people nor priority actions. Elsewhere, setting it up may consume too much space, time and use of your hands. There is therefore no rule “mountaineering = never a tripod”: there is a compatibility test. If the support is not compatible, work handheld with the appropriate exposure and sharpness compromises described in Exposure in mountain photography and Sharpness, focus and depth of field.
Spectacular light does not change the terrain rules
Sunrise, sunset, backlight or a break in the clouds can make a scene exceptional, but they do not create a new category of photographic safety. Light can change your exposure or composition; it should not change the threshold at which you put the camera away. General planning for light windows and the return belongs in Preparing a mountain photography outing.
When photography becomes inefficient: diagnose the constraint before buying equipment
Problems encountered in mountaineering do not always come from camera performance. Very often, the photo system is simply poorly adapted to the context. Diagnosis should therefore start from the symptom observed during the route.
| Symptom | Likely cause to test | Photographic correction | Limit |
|---|---|---|---|
| You almost never take out the camera | It takes too long to reach or the protective system is too complex. | Simplify access or accept packing it away completely on sections where no photo window exists. | Never make photo equipment more accessible by blocking priority equipment. |
| The camera swings, catches or interferes | The external carrying system is poorly placed for your movements or equipment. | Shorten or simplify the system, or switch to internal storage when the context changes. | The photo system must perform no safety function. |
| Every photograph causes a long stop | Too many settings, too many lenses or no starting configuration. | Reduce the number of decisions: a more versatile lens, preconfigured controls, fewer variants. | If the scene still requires time, it waits for a real pause. |
| You change lenses often | The kit answers too many theoretical images instead of those that are actually achievable. | Reassess the role of each lens and favour the one covering most available windows. | Focal length remains a visual decision; this guide recommends no universal range. |
| Battery level drops suddenly in the cold | Performance temporarily reduced by temperature, already-low battery or energy-intensive use. | Switch to a charged battery kept warm and compare behaviour after warming. | Respect the exact temperatures and instructions from the manufacturer. |
| The lens or camera fogs up on return | Rapid transition between cold equipment and warm/humid indoor air. | Next time, isolate the cold equipment before changing environment; if condensation is present, switch off and wait. | Do not multiply disassembly while the equipment has not acclimatized; follow the manual. |
| You frequently remove gloves to adjust settings | Ergonomics not tested or too many functions accessible only through menus or touch controls. | Reconfigure essential controls and test with the actual gloves. | Do not make shooting depend on handling incompatible with the context. |
| A partner regularly waits for you | Photography has become the reason for the stop instead of using an existing pause. | Switch to opportunistic shooting or reserve constructed images for pauses already decided. | If it continues, put the camera away. |
| You insist because the light is disappearing | The photographic stakes are beginning to influence the schedule or the decision to continue. | End the sequence immediately and return to the progress decision without considering the image. | A missed photograph is never a reason to reduce the safety margin. |
Excess weight also shows in behaviour
The sign of a kit that is too heavy is not only the number on the scale. It appears when you hesitate to access the camera, every storage operation becomes laborious or you carry several items that are never used. The right way to lighten the kit is therefore the one that reduces a real constraint, not the one that chases the lowest gram count.
A short routine: see, check, shoot or put away
The method can fit into four decisions. See: a possible image appears. Check: do the position, attention, hands and pace make shooting compatible? Shoot: use the setting and angle of view already available, with as little handling as possible. Put away: as soon as the window closes, without trying to save one extra variation.
This simplicity does not rule out ambitious photography. It simply shifts the ambition: instead of imposing the photo setup on the terrain, you build a system prepared well enough to take advantage of moments that already exist.
What to remember
- Progress, safety and the rope team remain in control of time and attention; photography uses only the available margin.
- The kit is judged by weight, but also by access, handling, storage and lack of interference.
- Cold reduces available battery life; charged batteries, spares and manufacturer limits are more useful than a universal temperature.
- Condensation and moisture are managed through anticipation; if condensation is present, the camera stops until drying and acclimatization according to the manual.
- When the position is imposed, adapt the composition to the available place rather than moving the activity to obtain the imagined image.
- If photography creates waiting, interference, lengthy handling or negotiation with a turnaround decision, the diagnosis is simple: put the camera away.
To discover works on this theme, explore the mountaineering photo prints.