Où photographier Zermatt, le Cervin et le Gornergrat ? - AluArtMountains

Where to photograph Zermatt, the Matterhorn and the Gornergrat?

Last updated July 29, 2026

Zermatt is one of the most instantly recognizable places in the Alps, but photographing the Matterhorn in a personal way requires more than just clear skies. Its pyramid dominates almost every viewpoint: it naturally draws the eye, at the risk of producing a succession of frontal and repetitive images.

The real difference lies in the choice of sector and secondary subject. From the village, the chalets, roofs, and blue hour lights give scale to the peak. Around Sunnegga and Stellisee, lakes and alpine pastures offer calmer compositions. On the Gornergrat axis, the red train, Riffelsee, glaciers, and high-altitude landscapes allow for a more complete story than just the Matterhorn's silhouette.

This guide compares the main accessible areas around Zermatt to help you choose the right viewpoint, light, and focal length. To place this destination within the wider massif, consult our upcoming photo guide to the Swiss Alps and the parent page dedicated to photo destinations in the Alps.

Photo print of the Gornergrat train facing the Matterhorn in winter in Zermatt
The red Gornergrat train adds a line, color, and human scale to the winter landscape dominated by the Matterhorn. Photography by Marcelo Piva. Discover this Gornergrat photo print.

The essentials in 30 seconds

  • Best area for a first outing: Zermatt village at blue hour, then Gornergrat to understand the geography of the massif.
  • Best Matterhorn reflections: Riffelsee from Rotenboden and Stellisee from Blauherd, best when the wind is low.
  • Best secondary subject: Gornergrat train, chalets, forest, lake, moraine, or village lights.
  • Most useful focal lengths: 24–70 mm for contextualized landscapes; 70–200 mm for isolating the pyramid, ridges, and glacial details.
  • Best atmospheres: sunrise, last light, blue hour, fresh snow, moving clouds, or calm reflections.
  • Essential tip: Don't try to show everything. Choose a single element that can draw the eye towards the Matterhorn.

Table of Contents

Why photograph Zermatt and the Matterhorn?

The Matterhorn is an exceptional subject because its shape remains legible from very different angles. Its almost isolated pyramid works in silhouette, close-up, behind a forest foreground, above the village, or reflected in a lake. Few Alpine peaks offer such a strong identity without systematically requiring a long approach.

This accessibility is also the main trap. Classic viewpoints are abundantly photographed, and the mountain easily takes up all the space. A successful image therefore does not depend solely on the sharpness of the summit or the color of the sky. It must show why this precise viewpoint deserves to exist: a train crossing the snow, chalets clustered in the valley, a lake swept by the wind, branches framing the pyramid, a glacier providing depth, or light touching only one ridge.

Practical summary of photo sectors around Zermatt

Sector Main subject Preferred light Useful focal lengths Point of attention
Zermatt Village Chalets, roofs, streets, and Matterhorn Blue hour, clear morning, fresh snow 24–70 mm, 70–200 mm Avoid overly cluttered foregrounds
Sunnegga and Findeln Alpine pastures, hamlet, and open view of the Matterhorn Morning, late afternoon, autumn 24–70 mm, 70–200 mm Use terrain lines and chalets
Stellisee Matterhorn reflection and lake landscape Sunrise, sunset, calm weather 16–35 mm, 24–70 mm Wind, crowds, and overly symmetrical composition
Gornergrat Train Red train, snow, track curves, and summit Morning, side light, winter 35–70 mm, 70–200 mm Anticipate train position and stay away from tracks
Rotenboden and Riffelsee Classic Matterhorn reflection, rocks, and moraine Dawn, calm morning, last light 16–35 mm, 24–70 mm Water surface, altitude, and transport schedules
Gornergrat Matterhorn, Gorner Glacier, and 4,000m peaks Clear morning, after a disturbance 24–70 mm, 70–200 mm Create hierarchy in a very dense panorama
Riffelalp Forest, clearings, train, and more intimate framing Morning, filtered light, autumn 35–70 mm, 70–200 mm Do not completely obscure the summit with branches

Access to Zermatt, mountain transport, and schedules

Zermatt is a car-free village. Arriving by road, you must leave your vehicle in Täsch, then reach Zermatt by shuttle train or taxi. This constraint must be incorporated into your photo planning: a sunrise at Riffelsee or Stellisee is not prepared like an outing by the roadside.

The Gornergrat train station is located opposite Zermatt's main station. The cogwheel train reaches the summit area in about thirty minutes and serves several useful stops for photography, including Findelbach, Riffelalp, Riffelberg, and Rotenboden. Schedules vary with the season, with some very early services only available on specific dates.

Photographing Zermatt from the village

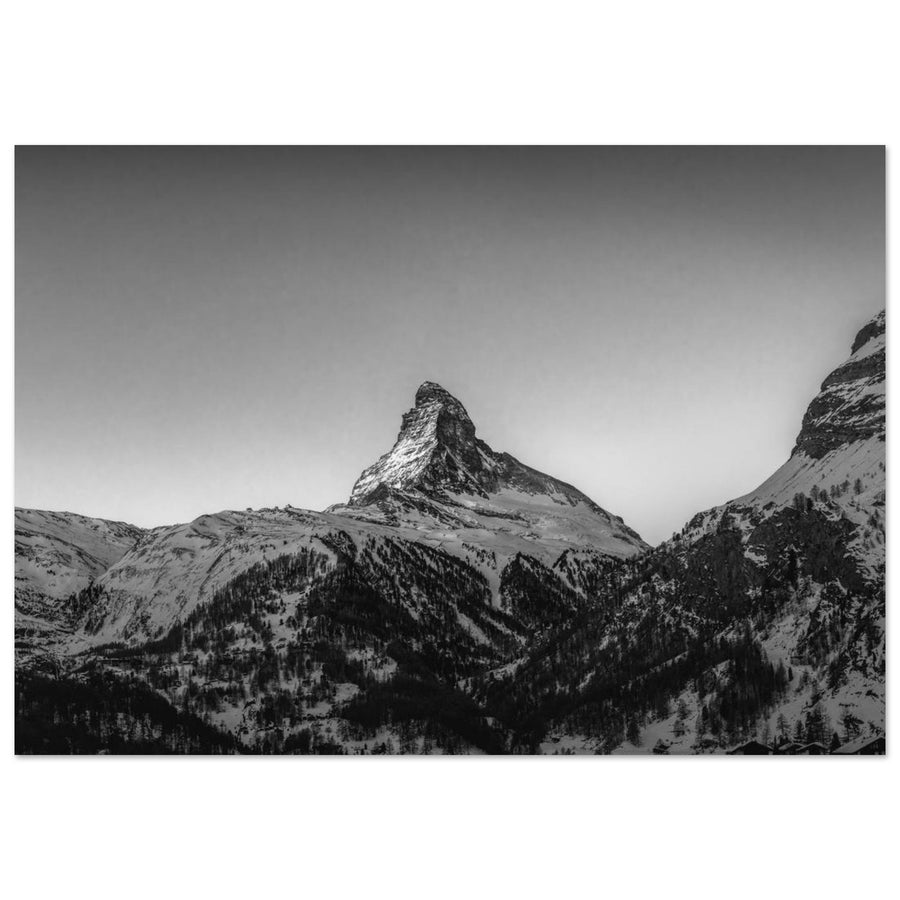
The village allows for the most narrative images of Zermatt. The Matterhorn no longer floats alone in the sky: it dominates the roofs, streets, old chalets, and lights of the valley. This context immediately provides a scale and situates the summit within an inhabited landscape.

At blue hour, look for a slightly elevated point that allows you to separate the rooflines. The village lights should remain secondary: they structure the bottom of the image without becoming an orange mass. A single exposure can work when the sky still retains enough luminosity. When the difference between the lamps and the mountain becomes too great, it is better to protect the highlights and accept deep shadows rather than flattening the entire scene.

From the streets, vertical framing is particularly effective. An alley, a roof, or a facade can occupy the lower third while the pyramid closes the image. With a telephoto lens, the planes get closer and the Matterhorn seems to weigh more heavily on the village. With a wide-angle lens, watch out for distorted buildings and parasitic elements at the edge of the frame.

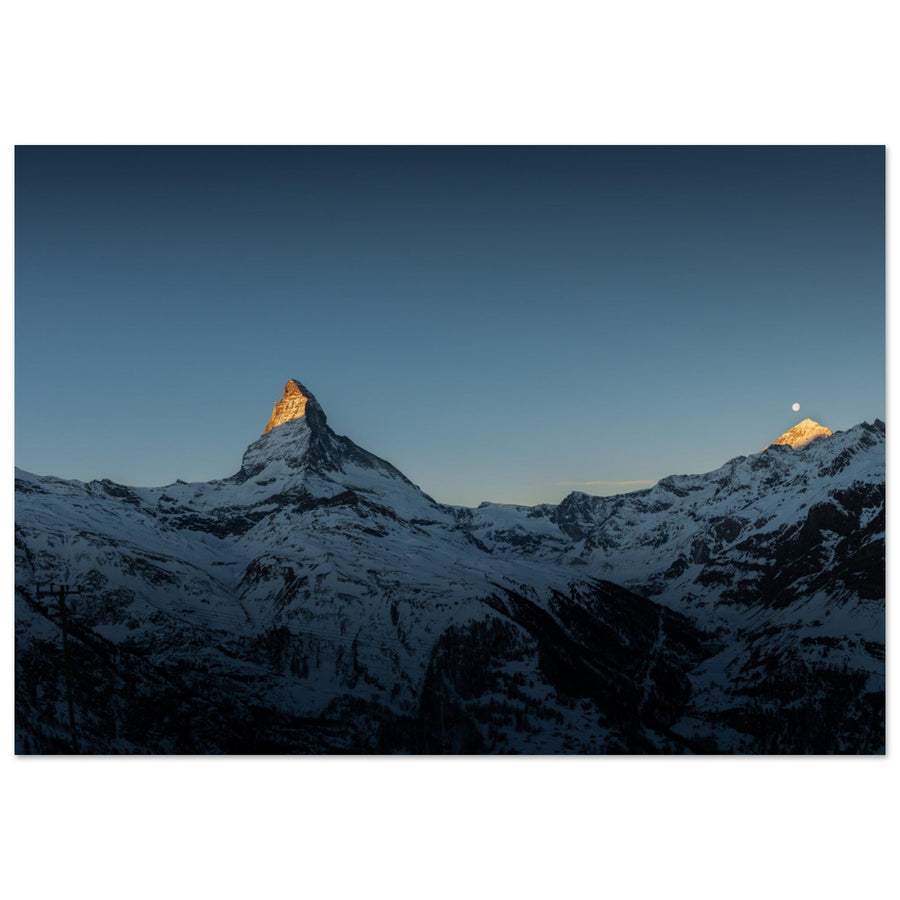
Photo print of Zermatt under the Matterhorn at blue hour
At blue hour, the warm lights of Zermatt give scale to the Matterhorn's cold silhouette. Photography by PnPy. View this Zermatt photo print.

Our composition tip

In the village, don't necessarily look for the clearest spot. A dark roof, a chimney, a path, or a few well-placed lights can make the Matterhorn more present than a panorama without a foreground.

Sunnegga, Findeln, and Stellisee: alpine pastures and Matterhorn reflection

The Sunnegga slope offers a more open relationship with the Matterhorn. The slopes, the chalets of Findeln, and the lakes allow for building an image with depth, with several successive planes. This is an area suitable for photographers who want to keep the mountain in its environment rather than systematically isolating it.

Sunnegga and Findeln

Around Sunnegga, use the changes in slope, paths, and lines of the alpine pastures to direct the eye. The chalets of Findeln act as anchor points, but their accumulation can make the image cluttered. An intermediate focal length helps select two or three buildings and exclude more modern installations.

Stellisee

Stellisee is about a twenty-minute walk from Blauherd and is one of the classic reflections of the Matterhorn. As at Riffelsee, the wind often determines the success of the session. A slightly rippled surface, however, is not necessarily a failure: it can produce a more abstract and less expected reflection than a perfect symmetry.

Start by observing the banks before setting up the tripod. A stone, a tuft of grass, or a curve in the shore can add depth, while an overly massive foreground cuts off the reflection. Also try a longer framing at 70mm: the lake then becomes a luminous band and the mountain takes up more space without completely losing its context.

The guide to alpine reflections details how to manage focus, wind, and symmetrical compositions.

Photographing the Gornergrat train facing the Matterhorn

The Gornergrat train is one of Zermatt's most distinctive subjects. Its red or dark color, geometric shape, and the curve of the tracks introduce an immediately legible human presence into the landscape. Unlike a simple chalet, the train also adds movement: the moment of triggering the shutter becomes essential.

First, observe the relationship between the track and the Matterhorn. A perfectly placed train car is not enough if the railway line abruptly leaves the frame or if a pole cuts off the summit. Look for a curve, a diagonal, or a succession of embankments that leads the eye from the train to the mountain.

A 70–200 mm lens is often the most effective. It brings the train closer to the Matterhorn and reduces uninteresting areas. A shutter speed between 1/500 s and 1/1000 s ensures sharpness when the train is moving, but a slower speed can be intentionally used to suggest motion. In all cases, stay within authorized areas, never approach the tracks, and do not cross any railway installations to gain a few meters of framing.

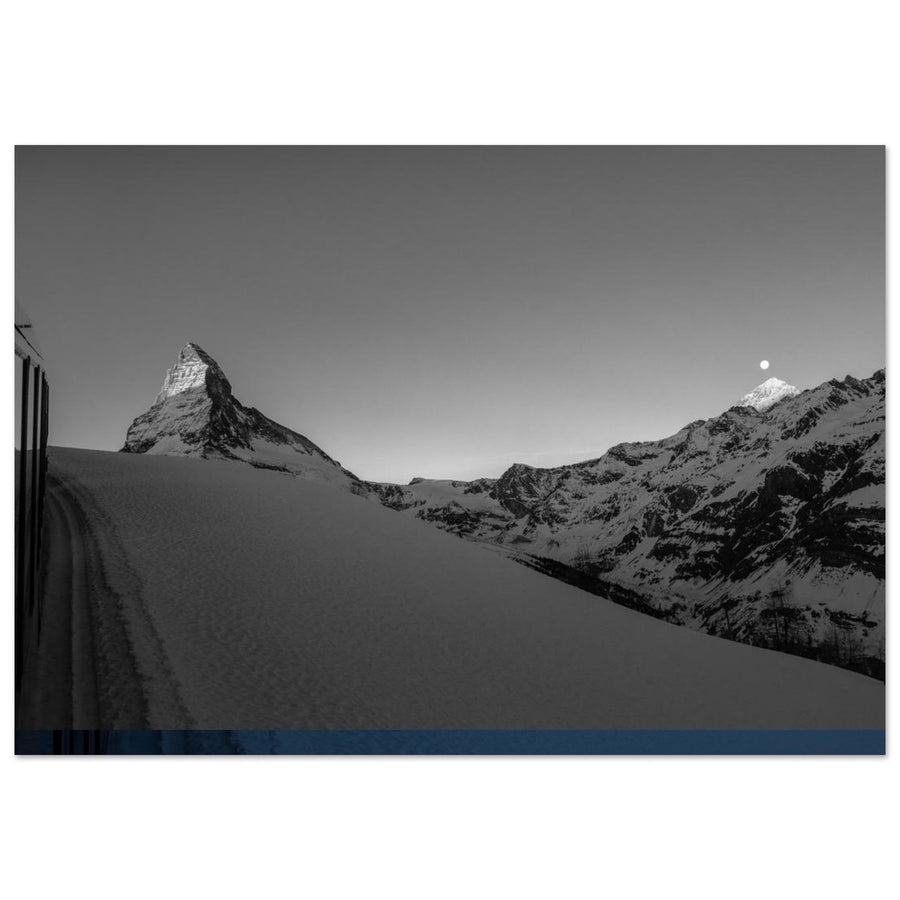
Photo print of the Matterhorn reflection in the window of the Gornergrat train in Zermatt
A window can become a second frame: the Matterhorn reflects in the train while the morning light preserves the details of the landscape. Photography by Pierre Thiaville. Discover this photo print of the Matterhorn reflection.

Photographing from the train

From a train car, place the lens close to the window without touching it. Dark clothing and a flexible lens hood limit reflections; a high shutter speed reduces blur caused by movement.

Rotenboden and Riffelsee: capturing the Matterhorn reflection

Riffelsee is located at an altitude of 2,757 meters, a short distance from Rotenboden station. The official Riffelsee trail forms a route of approximately 2.9 kilometers, but the lake itself is quickly accessible from the train stop. This ease explains its popularity and requires careful preparation if you are looking for a calm atmosphere.

The best chances for a reflection usually appear early in the morning or late in the day, when the wind dies down. However, check the compatibility between the desired light and available transport. An ordinary first train may arrive after the strongest colors; some dates offer special sunrise trips, while an overnight stay at altitude completely changes the possibilities.

Avoiding the classic framing copy

Total symmetry works when the surface is perfectly calm and the sky is clear. It becomes weaker when the horizon cuts the frame exactly in half without other visual tension. Try several variations:

  • place the waterline lower to give more importance to the sky and the summit;
  • use a bank rock as an entry point;
  • reduce the reflection to a graphic band with a longer focal length;
  • include a discreet silhouette to give scale;
  • wait for a cloud or a light break to disrupt the symmetry.

A polarizing filter can reduce some unwanted reflections, but it can also weaken the Matterhorn reflection you came for. Rotate the filter while precisely observing the effect rather than using it automatically.

Gornergrat: panorama, Gorner Glacier, and high mountain details

The Gornergrat terminus is located at just over 3,000 meters and offers an extremely rich panorama: the Matterhorn, the Gorner Glacier, and numerous peaks over 4,000 meters. This visual richness can become a flaw when all ridges are given the same weight.

With a wide-angle lens, use a moraine line, a path, or a dark slope to organize depth. Avoid placing every peak on the same horizontal line. With a telephoto lens, instead, isolate a detail: seracs, ridges, clouds around a peak, alternating light and shadow, or the relationship between the Matterhorn and a secondary ridge.

To delve deeper into this, consult our guide on mountain photo settings and reading the histogram.

Riffelalp: forests, clearings, and more intimate framing

Riffelalp offers an alternative to very open panoramas. Trees and clearings allow for framing the Matterhorn and working with a sense of distance. This type of composition makes the mountain less monumental, but often more personal.

Photo print of the Matterhorn framed by trees from Zermatt
Trees form a natural frame around the Matterhorn and give the landscape a more intimate depth. Photography by Pierre Thiaville. View this Matterhorn photo print.

Sunrise, last light, and blue hour

Sunrise

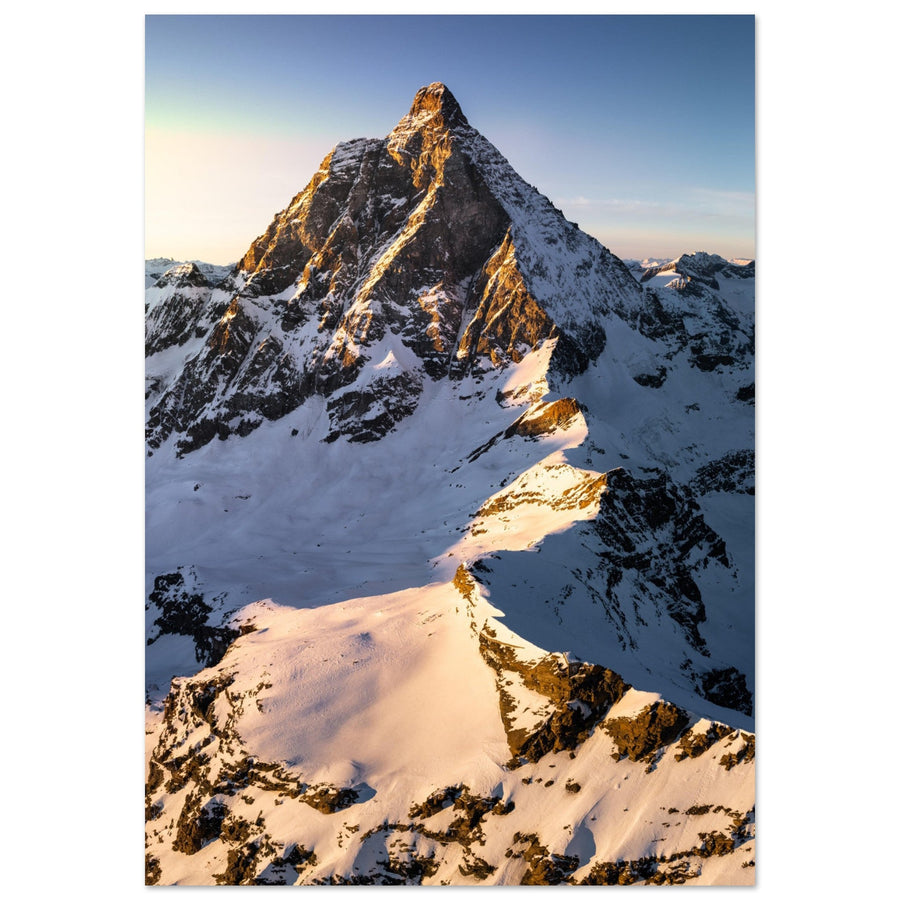
Sunrise is particularly interesting when the first light catches the Matterhorn's ridges before reaching the valley. Expose to preserve the bright area of the summit: shadows can remain deep, as they reflect the transition between night and day. A telephoto lens reveals rapid color changes on the pyramid, while a wider frame retains the lakes or the village.

Photo print of the Matterhorn illuminated at sunrise above Zermatt
The first light isolates the upper ridges of the Matterhorn while the flanks still retain the cold tones of the night. Photography by Pierre Thiaville. Discover this Matterhorn sunrise photo print.

Last light and sunset

At the end of the day, observe less the solar disk than how the light gradually leaves the mountain. A final warm band on the summit can be stronger than an entirely colored sky. A 70–200 mm lens allows isolating this phase and excluding valleys already plunged into shadow.

Blue hour

Blue hour works particularly well with Zermatt, as the village lights provide warm points while the Matterhorn maintains sufficient presence in the sky. Set up before the general lighting comes on, take several exposures spaced a few minutes apart, and then choose the one where the balance between sky and village appears most natural.

Photographing Zermatt and Gornergrat in winter

Winter simplifies shapes but complicates exposure. Snow erases many details, highlights the train line, and clearly separates dark chalets from the white background. It can also transform the landscape into a uniform mass if no shadows, textures, or colors structure the image.

Monitor the histogram and apply positive exposure compensation only if your camera severely underexposes the snow. Do not follow a fixed value: the presence of sky, rocks, and forests completely changes the measurement. Retain detail in the brightest areas, as completely blown-out snow cannot be recovered.

The red of the train becomes a very effective entry point. Place it in one-third of the frame and let the track or relief guide the eye towards the Matterhorn. In the village, look for contrasts between snow-covered roofs, dark facades, and a cold sky. After a snowfall, work quickly before passages, service vehicles, and drips fragment the surfaces.

Compositions, focal lengths, and photo settings

24–70 mm: telling the story of the place

This range covers most situations: village, train in its environment, lake, and high mountain landscape. Around 35 to 50 mm, proportions remain natural, and the Matterhorn retains enough presence without overwhelming the foreground.

70–200 mm: isolating and bringing closer

The telephoto lens brings the train closer to the summit, simplifies the village roofs, and isolates ridges, glaciers, or superimposed peaks.

16–35 mm: to be used with intention

The ultra-wide-angle works best at the edge of a lake or with a strong foreground. Without this support, it reduces the Matterhorn and creates large empty areas: get closer, lower your viewpoint, and control the corners.

Starting settings

  • Landscape on tripod: ISO 100, f/8 to f/11, shutter speed adapted to light.
  • Moving train: 1/500 s minimum as a starting point, ISO adjusted according to conditions.
  • Blue hour: tripod, low ISO, moderate bracketing if the light difference justifies it.
  • Reflection: focus on an intermediate area, check wind and foreground.
  • Handheld telephoto: shutter speed at least equal to the reciprocal of the focal length, more in case of wind.

To enhance depth, use our guide on composition in mountain photography.

Three photo itineraries around Zermatt

Itinerary 1 — First discovery without a long hike

  • Morning: village streets and viewpoints when the Matterhorn is clear.
  • Midday: ascent to Gornergrat to understand the panorama and scout stops.
  • Descent: stop at Rotenboden or Riffelalp depending on weather and light.
  • Evening: blue hour above the village.

Itinerary 2 — Reflections and landscapes of Sunnegga

  • Access to Blauherd depending on lift schedules.
  • Stellisee, then progress on part of the Five Lakes Walk.
  • Return via Findeln to incorporate chalets and alpine pastures.
  • End of day in Sunnegga or in the village depending on the last transport.

Itinerary 3 — Winter, train, and blue hour

  • Morning: Gornergrat Bahn, train scenes, and snowy slopes.
  • Midday: telephoto details, glacier, and peaks.
  • Descent with a stop at Riffelalp for forests and clearings.
  • End of day: snow-covered roofs and lights of Zermatt.

What photo equipment to bring to Zermatt?

  • Protected camera body: weather sealing useful, but a light cover is still recommended.
  • 24–70 mm: main lens for village, lakes, and contextualized panoramas.
  • 70–200 mm: essential for the Matterhorn, train, ridges, and glaciers.
  • Wide-angle: useful by lakes or in narrow streets, but not mandatory.
  • Stable tripod: blue hour, reflection, long exposure, and precise framing.
  • Polarizing filter: to be used with caution, especially when you want to retain a reflection.
  • Extra batteries: essential in winter and during long waits.
  • Microfiber cloth and rain protection: snow, spray, condensation, and rapid weather changes.
  • Suitable shoes: even short approaches are at high altitude and can remain snowy or slippery.

Safety, trail respect, and drone regulations

Gornergrat and the lakes are easily accessible by transport, but they remain high-altitude areas. Cold, wind, and fog can make a short outing much more demanding. Check trail conditions, do not follow a closed path, and plan a return solution independent of the success of your session.

Stay on marked trails where regulations or environmental protection require it. Do not move stones from riverbanks to improve a foreground and do not approach wildlife. In busy areas, set up your tripod without blocking the passage and allow other visitors access to the viewpoint.

Drones in Zermatt

Regulations are particularly strict around Zermatt. Flying over the village, lifts, and slopes is generally prohibited. The presence of the heliport also requires authorization within the relevant perimeter; the official Zermatt website specifies that a drone over 250 g requires prior authorization from Air Zermatt for concerned flights.

Before each takeoff, check the official restriction map, the rules of the Federal Office of Civil Aviation, wildlife protection zones, and any local authorizations. The general maximum height of the open category does not supersede these geographical restrictions.

Photo prints of Zermatt, the Matterhorn, and Gornergrat

The landscapes of Zermatt are particularly well suited to large formats: the Matterhorn's pyramid remains legible from a distance, while versions with the village, train, or forest retain enough detail to structure a wall. Photographs are offered as photo prints on matte aluminum Dibond, printed on demand.

An iconic scene of the Gornergrat

The red train crosses an almost monochrome winter landscape while the Matterhorn closes the composition. The railway presence adds movement and scale to the high mountains.

View the Gornergrat train photo print

To continue your preparation beyond Zermatt, look out for the upcoming guide to the Valais outside Zermatt, the one for the Bernese Oberland, and the future pillar page dedicated to the most beautiful photo spots in the Swiss Alps.

Back to blog